Pioneer Woman Gumdrop Recipe: Easy Homemade
I love making sweets that are simple, colorful, and crowd-pleasing, and Pioneer Woman’s gumdrops fit that bill. These chewy candies bring a playful twist to a long-standing treat, and I enjoy how easy they are to change by swapping flavors and colors to match any mood or occasion.
I will walk you through a clear, step-by-step guide to making these gumdrops, share tips for customization, suggest serving and storage ideas, and answer common questions so you can make them with confidence. Whether you’re baking with kids or preparing a festive gift, these gumdrops make a fun and tasty project.
Key Takeaways
- The recipe is simple and easy to customize for different flavors and colors.
- I provide clear steps, helpful tips, and serving suggestions for best results.
- Storage and safety advice plus common questions help you make gumdrops with confidence.
What I Call Pioneer Woman’s Gumdrop
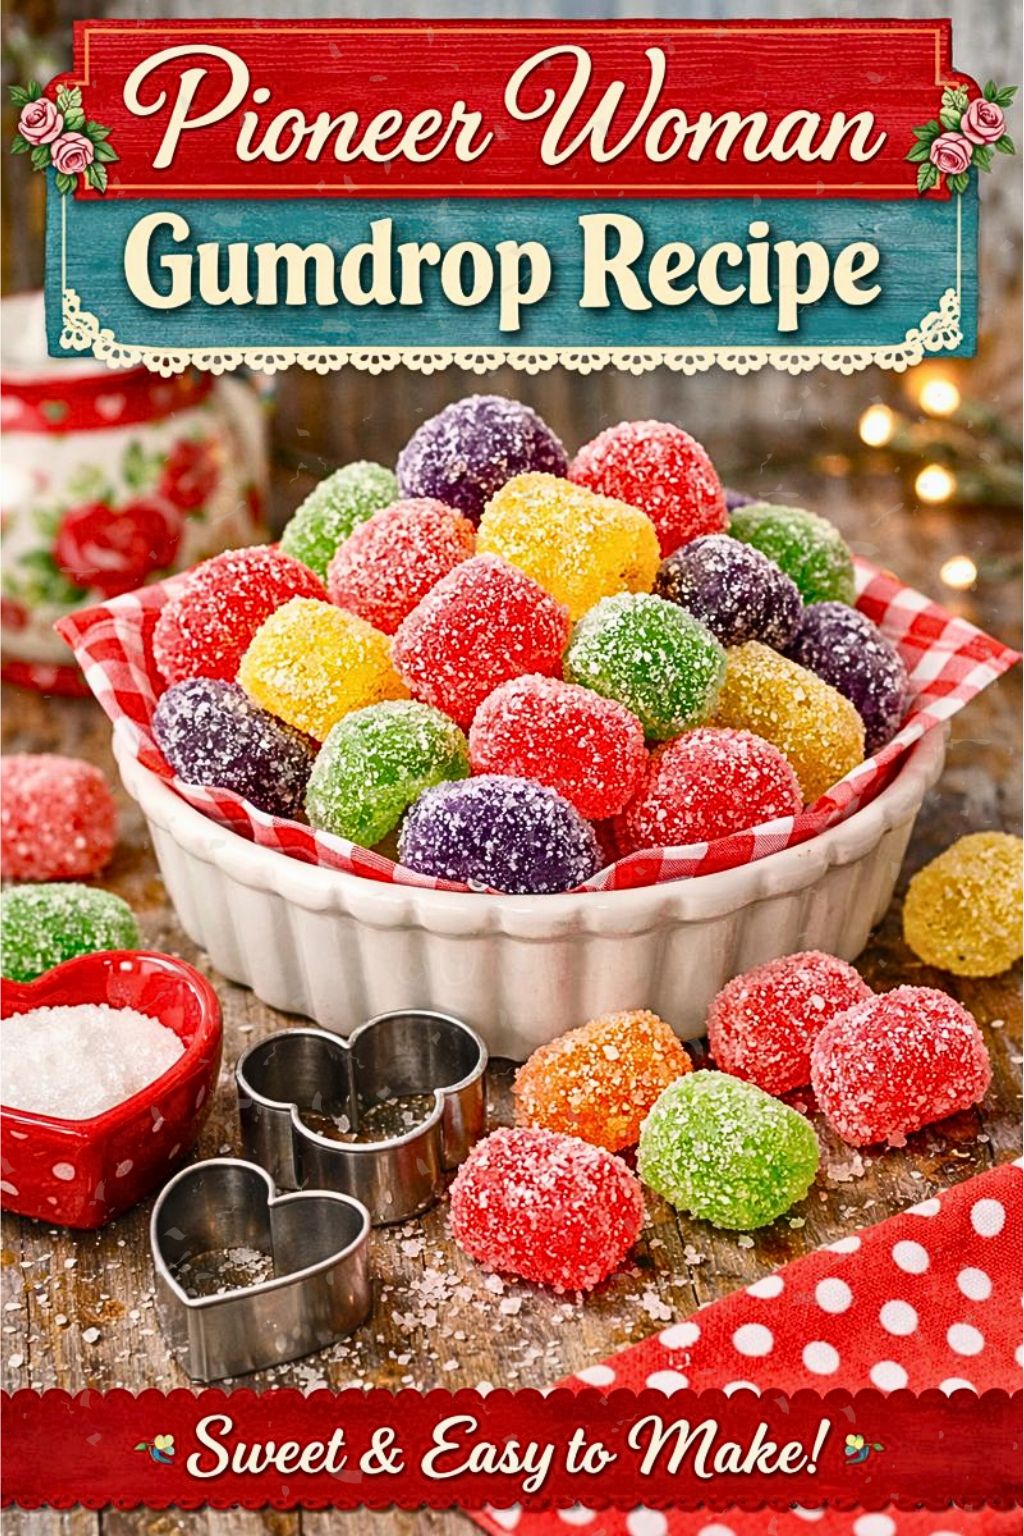
I make gumdrops that are soft, chewy, and brightly colored. I use gelatin, sugar, and extracts for flavor, then tint them with food coloring to match any theme.
- Texture: softer and more tender than typical crystallized gumdrops.
- Uses: I snack on them, top cupcakes or ice cream, or cut them into shapes for decorations.
- Customization: I change flavors, colors, and shapes to suit holidays or parties.
Tip: Roll the pieces in coarse sugar for sparkle and a slight crunch contrast without losing the chew.
What does it taste like?
I find these gumdrops chewy and sweet with a light, bouncy texture. The sugar coating gives a quick crunch, then the center softens into a dense, gelatinous bite. Flavors change with the extracts and colorings I choose, so one batch can be bright cherry while another tastes like lemon or orange. Overall, they deliver simple, fruity sweetness without complex aftertastes.
How I First Found the Pioneer Woman’s Gumdrop
I first noticed Ree Drummond on the Food Network a few years back and started tuning in more often. Her warm, easygoing style made the kitchen feel simple and welcoming, so I felt comfortable trying recipes I’d never attempted before.
One episode featured her gumdrop recipe and the bright, jewel-like candies caught my eye. I liked the idea of making a colorful, homemade treat with clear steps and familiar ingredients, so I decided to try it the following weekend.
I went to the store, bought the jars of gelatin, sugar, and the extra supplies the recipe called for, and set aside an afternoon. I followed each step carefully, from blooming the gelatin to pouring and cutting the set candy. The process was straightforward and oddly satisfying.
When the gumdrops were done, they were exactly what I hoped: chewy, fruity, and dusted in sparkling sugar. They looked festive enough to share and tasted fresh, not like store-bought candy. Making them gave me a small, direct reward for patience and attention.
Since that first batch, I make the recipe often for holidays and small gatherings. It’s one of those simple projects that feels creative and dependable. I’ve tweaked flavors and colors a few times, but the basic method from that first try stays the same.
How I make the Pioneer Woman gumdrops
I soak unflavored gelatin, then heat sugar with water until syrupy. I stir in flavored gelatin and cook briefly, then pour into a pan to set. After chilling, I cut into shapes and toss pieces in colored or granulated sugar for a chewy, bright candy.
Ingredients
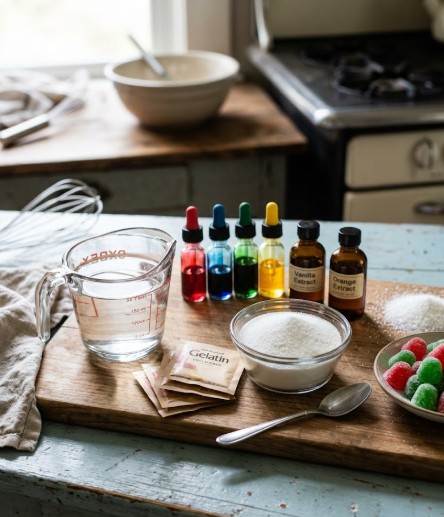
I use simple items to make chewy, colorful gumdrops.
- Water — to dissolve gelatin and sugar so the mixture sets evenly.
- Unflavored gelatin — gives the gumdrops their firm, springy texture.
- Granulated sugar — sweetens the candy and helps create chewiness.
- Food coloring — lets me pick bright shades for each batch.
- Flavor extracts (vanilla, citrus, or fruit) — add the taste; I can swap in different extracts.
- Extra sugar or sanding sugar — for coating the finished gumdrops so they don’t stick.
Step-by-step instructions
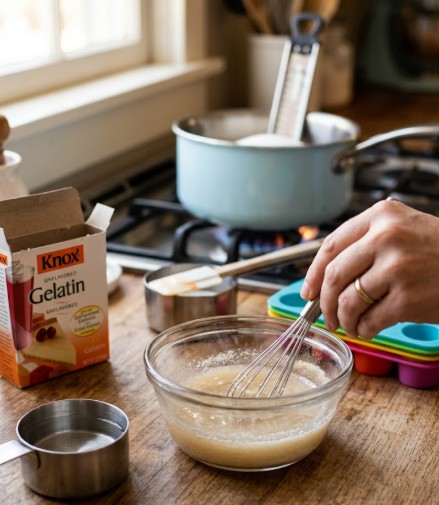
Step 1 — Bloom the gelatin
I mix cold water with gelatin in a small bowl and stir until the powder dissolves. I set this aside so it softens while I prepare the syrup.
Step 2 — Cook the sugar syrup
I heat water and granulated sugar in a saucepan over medium heat, stirring until it boils. I keep cooking until the mixture reaches about 230°F (softball stage) on a candy thermometer.
Step 3 — Combine and color
I pour the bloomed gelatin into the hot syrup and stir until smooth. I divide the mixture into cups and add food coloring, aiming for a glossy finish.
Step 4 — Mold, rest, and finish
I pour each color into molds of various sizes and let them rest until set. Once firm, I unmold the candies and toss them in sugar to coat before serving.
Tips
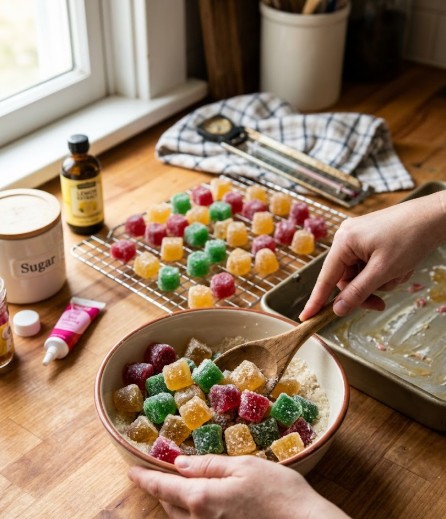
Tools I Recommend
- Use a candy thermometer to watch the syrup heat. It tells you when the sugar reaches the right stage.
- Have a small bowl, spatula, knife, and a greased pan ready before you start.
- If you plan to color or flavor separate batches, prepare small pouring cups or measuring cups to divide the hot mixture safely.
Ingredients and Swaps
- I use granulated sugar and unflavored gelatin as the base. Adjust sugar to taste but expect sweetness.
- Cold water is for blooming the gelatin; hot water dissolves the sugar. Keep those measurements separate.
- A few drops of lemon juice or white vinegar prevent sugar crystals from forming.
- Try different extracts (lemon, vanilla, or fruit oils) and gel food colors to make new flavors and bright hues.
Step-by-Step Tips
- Bloom the gelatin in cold water first so it dissolves quickly when combined with hot syrup.
- Stir the sugar and water constantly while heating. Stop when the thermometer reads about 230°F (soft-ball stage).
- Add the bloomed gelatin to the hot syrup and mix thoroughly off the heat.
- Pour into molds or a pan quickly, then let it set completely. Patience prevents a sticky, hard-to-cut mess.
- Dust pieces in granulated or coarse sugar after they set to keep them from sticking together.
Extra Notes I Use
- If you don’t have a 9×13 pan, any pan works; the candy will change thickness based on pan size.
- Cool fully before cutting or unmolding. Warm candy will smear and cling.
- Work on a clean, dry surface and dust tools with sugar if the mixture sticks.
- Store finished gumdrops in an airtight container with a little sugar between layers to keep them separate and easy to serve.
What to serve with Pioneer Woman’s Gumdrop?
I like offering gumdrops with simple drinks like hot coffee, black or herbal tea, cold milk, or fruit juice. They balance hot drinks and add sweetness to casual gatherings.
For desserts, I pair gumdrops with vanilla ice cream, plain cupcakes, or a light sponge cake to add color and chew. I also serve them with a savory board—crackers, mild cheddar, and a few nuts—for a sweet-and-salty contrast.
For presentation, I roll gumdrops in colored sugar, sprinkles, shredded coconut, or chopped nuts. I use them as toppers on cakes or cupcakes or arrange them in bowls as bright party centerpieces.
How I keep leftover Pioneer Woman gumdrops fresh
I store leftover gumdrops in an airtight container at room temperature; they stay good for several weeks but slowly lose flavor and texture. To extend shelf life, I wrap them tightly and refrigerate or freeze them. I label the container with the date. I avoid stacking unwrapped pieces to prevent sticking and keep them away from strong-smelling foods so they don’t pick up odors.
Can I eat these gumdrops while pregnant?
I can usually eat Pioneer Woman–style gumdrops during pregnancy, but I check a few things first. The main ingredient is gelatin, which comes from animal collagen and is generally safe to eat. Gelatin does not pose the same risks as raw or undercooked animal products.
I watch portions because the candies are high in sugar. Eating many sweets can raise my weight and blood sugar, so I keep servings small and balance with nutritious foods. I also confirm there are no hidden allergens or additives that bother me, especially if I have food sensitivities.
If I have any pregnancy complications, a weakened immune system, or specific dietary limits, I ask my healthcare provider before eating these or any homemade candy.
FAQs
Is the Pioneer Woman gumdrop recipe vegan-friendly?
I do not recommend it for vegans. The recipe uses gelatin, which comes from animals. If you want a vegan version, try agar-agar or another plant-based gelling agent and test small batches to match texture.
Are there nuts in the Pioneer Woman gumdrops?
No, the standard recipe does not include nuts or nut products. If you have severe allergies, check labels of all ingredients and avoid cross-contamination in your kitchen.
Can I make the gumdrops without any sugar?
Sugar helps give the gumdrops their chew and flavor, so I don’t advise removing it completely. You can reduce sugar or try liquid sweeteners like honey or maple syrup, but texture and setting may change.
Final Notes
I’m glad you followed the steps and tried making these gumdrops. If you enjoyed the process, you can explore more candy and dessert recipes on my site. Sharing this guide with friends or family can make it easier for someone else to try the recipe, too.
Below are a few recipes I think pair well with homemade gumdrops:
- Neely’s Macaroni and Cheese (copycat)
- Shrimp Cargot (copycat)
- Ann Sather–style Cinnamon Rolls (copycat)
Tips for next time:
- Store gumdrops in an airtight container to keep them soft.
- Experiment with different flavor gels and colors for variety.
- Use a silicone mold or pan lined with sugar to prevent sticking.
About me:
- I trained in medicine and later studied culinary arts.
- I ran a small catering business and worked as an executive chef for private events.
If you want, I can share more candy recipes or a shopping list to make your next batch easier.
FAQs
- What makes my version of this gumdrop recipe reliable? I use simple ingredients like unflavored gelatin, flavored gelatin packets, sugar, and water. These ingredients set into a chewy candy when heated and cooled correctly. Heating to dissolve the sugar and bloom the gelatin, then allowing enough time to set, keeps the texture consistent and prevents graininess.
- Are these gumdrops safe to make and eat at home? Yes. I follow basic food-safety steps: use clean utensils, measure ingredients accurately, and heat the sugar mixture gently to dissolve it rather than caramelize. Store finished gumdrops in an airtight container at room temperature to keep them fresh and avoid mold.
- How long do my gumdrops last, and how should I store them? I keep gumdrops in an airtight container for up to two weeks at cool room temperature. If your kitchen is warm or humid, refrigerate them and bring to room temperature before serving. Dust them in granulated or coarse sugar to reduce sticking.
- Can I change the flavors or colors, and how does that affect the result? I often swap flavored gelatin packets to make different flavors and colors. Using stronger or multiple flavors can alter sweetness and aroma, but it won’t break the recipe. Just keep the same ratios so the gelatin sets properly.
- How do my gumdrops compare to store-bought ones? Homemade gumdrops are fresher and let me control flavors and sugar levels. They can be chewier than some commercial versions and may vary in texture by small differences in cooling time or gelatin amounts. They won’t contain the same preservatives as factory-made candies, so they have a shorter shelf life.
- What maintenance does the candy need while setting and after making? While setting, I cover the pan lightly to keep dust out but avoid trapping moisture. After cutting, I toss pieces in sugar and arrange them in a single layer until fully dry to the touch. I check containers periodically for any sign of moisture and separate any pieces that stick together.
- Are there any common problems and how do I fix them? If gumdrops are too soft, I let them chill longer or use a touch more gelatin next time. If they’re grainy, I likely didn’t dissolve the sugar fully—gently reheating and stirring can help before resetting. If pieces stick, dredge them in more sugar and store with small paper liners to separate layers.
Conclusion
I found the Pioneer Woman gumdrop recipe to be a simple, reliable way to make bright, chewy candies at home. The steps use common ingredients and clear techniques, so the results are consistent and safe when you follow basic kitchen hygiene.
I recommend this recipe for anyone who wants a customizable, eco-friendly alternative to store-bought gumdrops. Making them at home cuts packaging waste and lets you control flavors, colors, and sugar levels.
If you want long-lasting success, pick fresh gelatin and good-quality flavors, measure carefully, and allow proper setting time. These choices improve texture, taste, and shelf life.
I encourage you to try the recipe and tweak it to your taste. With a little practice, you can make festive, homemade gumdrops that are fun, safe, and satisfying.