Mini Choco Flan Recipe: Easy, Decadent
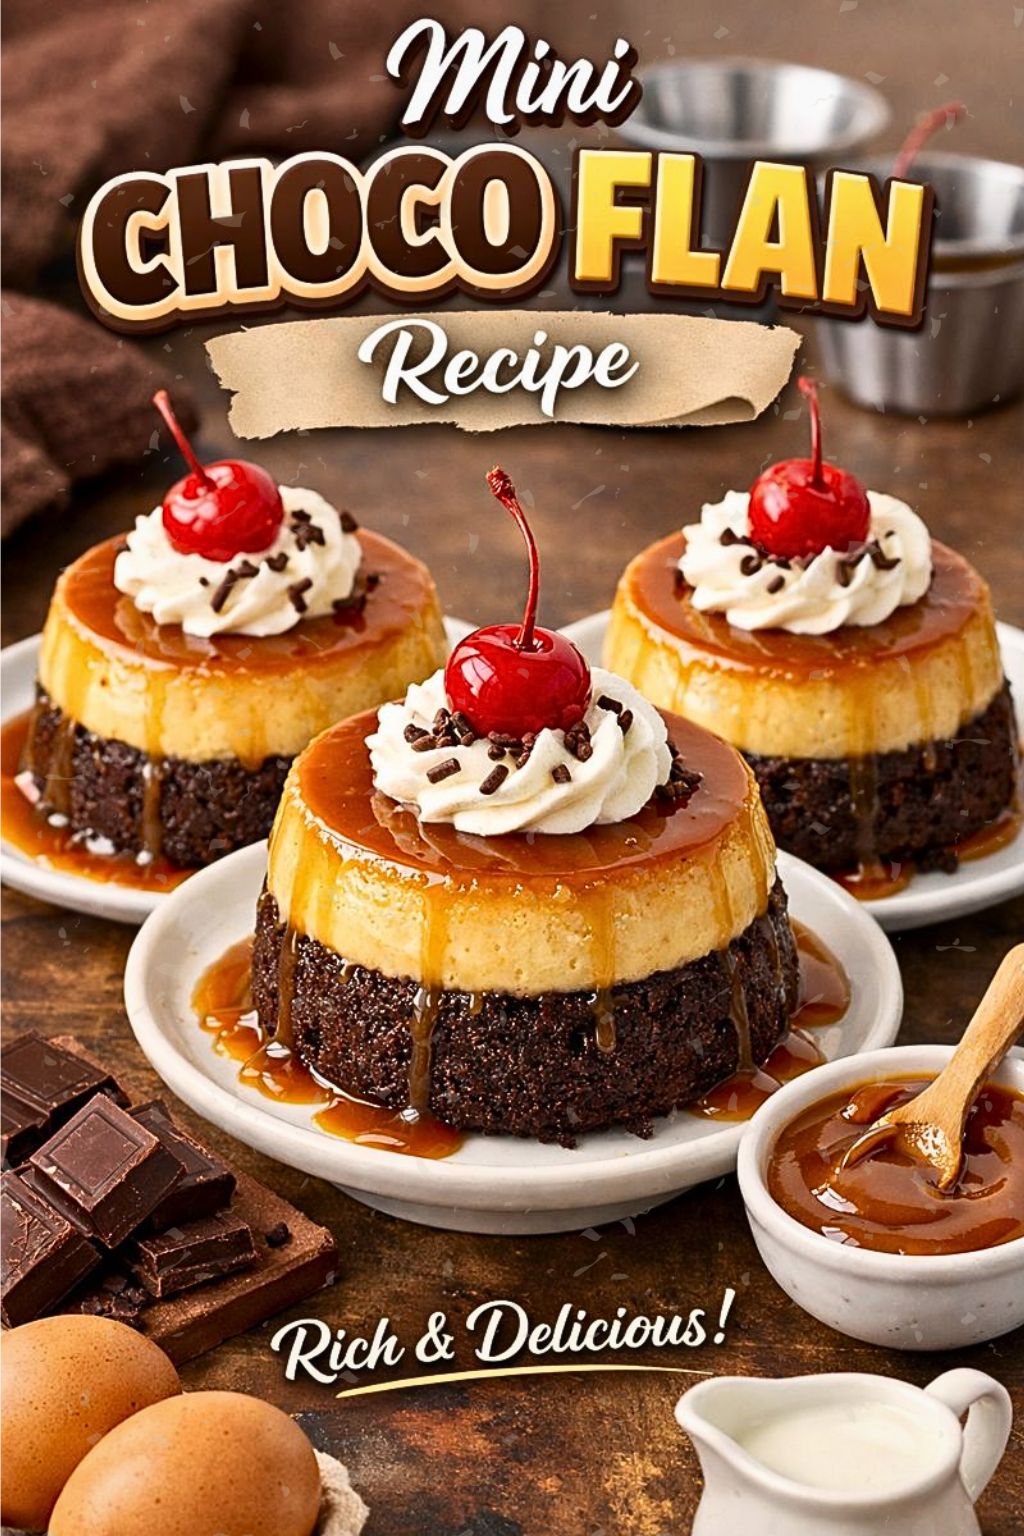
I love desserts that feel special but stay simple to make, and this mini choco flan fits that perfectly. It combines a silky flan layer with a rich chocolate cake layer in a small, elegant package that works for brunch, dessert after dinner, or a solo treat.
These little cakes pair well with coffee, cold milk, fresh fruit, or vanilla ice cream, so you can match them to the mood or occasion. I’ll guide you through making them so you get creamy texture, deep chocolate flavor, and neat individual portions every time.
Key Takeaways
- The recipe combines smooth flan and moist chocolate cake in single servings.
- Simple drink and dessert pairings make the dish versatile for many occasions.
- Clear steps and tips help achieve consistent texture and flavor.
What I Know About Mini Choco Flan
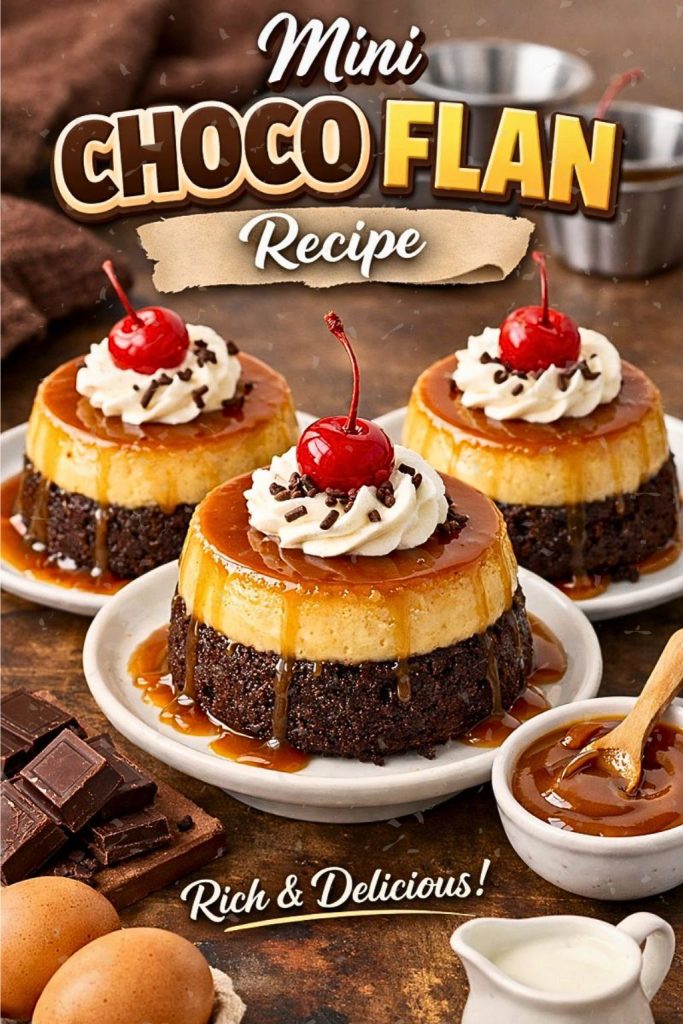
Mini choco flan blends two desserts into one small treat: a moist chocolate cake layer and a smooth custard flan layer. I like how the cake stays slightly dense while the flan sits silky on top, giving a clear contrast in every bite. The dessert comes from Mexican baking traditions and often features a thin caramel topping that adds a touch of sweetness. I find mini portions work well for parties or solo treats because they are easy to serve and feel special. This bite-sized version keeps the same flavors and textures as the full-sized chocoflan.
What the Taste and Texture Feel Like to Me
I find the chocolate layer bold and slightly bitter, which keeps the sweetness in check. The flan feels silky and creamy, with soft vanilla and caramel notes. Together they match well: the custard’s smoothness over a moist, dense cake makes each bite balanced and satisfying.
What Sets My Mini Choco Flan Apart
I add ground cinnamon and finely chopped pecans to the flan for a mild warm spice and pleasant crunch. I replace basic caramel with high-quality dulce de leche for a richer, silkier topping. I also streamlined the steps so beginners can follow easily. These small changes deepen the flavor and improve texture while keeping the recipe simple and reliable for home bakers.
Ingredients You’ll Need

- Chocolate cake mix and the extra items the box calls for (eggs, oil, water).
- Dulce de leche or a smooth caramel sauce for the bottom.
- Flan mix: 1 cup whole milk, 1 can (395 g) sweetened condensed milk, 4 large eggs, 1 tsp vanilla.
- Spices & nuts: 1/2 tsp ground cinnamon and 1/2 cup finely chopped pecans.
Step by Step Directions
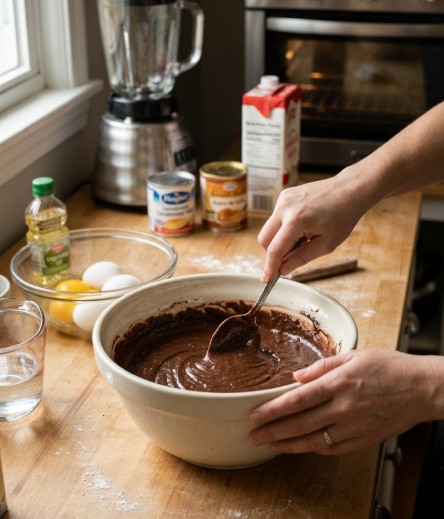
Step 1: Mix the Chocolate Batter
I follow the cake mix directions on the box. I combine the listed eggs, oil, and water in a bowl, then beat until the batter is smooth and free of lumps. I set the bowl aside while I work on the next components.
Step 2: Add the Caramel Layer
I spoon 1–2 tablespoons of dulce de leche into the bottom of each cupcake cup. This creates a caramel base that will melt and coat the finished flan.
Step 3: Make the Flan Custard
I put sweetened condensed milk, whole milk, eggs, vanilla, and a pinch of ground cinnamon into a blender. I blend until the mixture is silky and homogenous, with no streaks of egg or milk.
Step 4: Build the Cups
I evenly pour the chocolate batter over the caramel in each mold. Then I gently add the flan custard on top, pouring slowly so the two layers stay mostly separate.
Step 5: Bake in a Water Bath
I preheat the oven to 350°F (175°C). I place the cupcake tin into a larger pan and pour hot water into the outer pan until it reaches halfway up the tin. I bake for 35–40 minutes, or until a toothpick into the center comes out clean.
Step 6: Chill and Release
I let the mini desserts cool to room temperature, then chill them in the fridge for at least two hours. To serve, I run a thin knife around each edge and flip the molds onto plates to unmold.
Tips on Making Mini Choco Flan
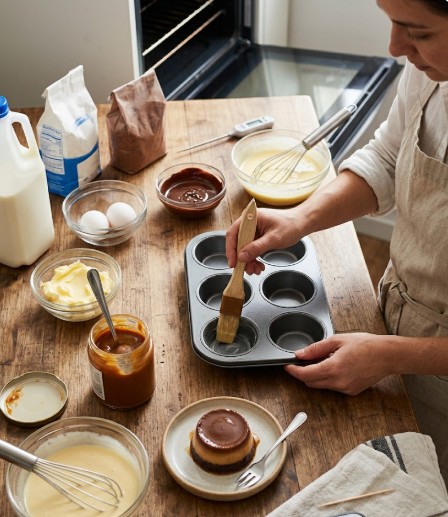
I use room-temperature ingredients so batter and custard blend smoothly. I chill the flans long enough; this helps the custard set and hold shape. I check doneness early because oven heat varies; a gentle jiggle or toothpick test works well. I choose a good dulce de leche or caramel for deeper flavor. I lightly grease molds to make unmolding simple and keep the layers intact.
How I Keep Mini Choco Flan Fresh
I store leftovers in an airtight container in the fridge for up to 3 days.
For longer storage, I freeze portions for up to one month.
I thaw frozen flans overnight in the refrigerator before serving.
Substitute Options for Ingredients
I suggest simple swaps when ingredients aren’t available. For caramel, canned caramel topping or store-bought dulce de leche works well. For milk, half-and-half gives a richer custard. Replace sweetened condensed milk with evaporated milk plus sugar. Swap pecans for chopped walnuts or almonds.
Mini choco flan recipe
Tools I use
- Medium mixing bowl
- Blender or whisk
- Cupcake or ramekin pan (10 cavities)
- Large roasting pan or baking dish for a water bath
- Measuring cups and spoons
- Nonstick spray or oil for greasing
What goes in it
- Chocolate cake mix and the eggs, oil, and water called for on its package
- 1 can (395 g) sweetened condensed milk
- 1 cup whole milk
- 4 large eggs
- 1 teaspoon vanilla extract
- 1/2 teaspoon ground cinnamon
- 1/2 cup finely chopped pecans (optional)
- Dulce de leche or thick caramel sauce, about 1–2 tablespoons per cavity
- Light cooking spray for molds
How I make it
- Preheat oven to 350°F (175°C). Grease the cupcake or ramekin pan lightly.
- Prepare the chocolate cake batter according to the package directions in a medium bowl. Stir until smooth and set aside.
- Spoon 1–2 tablespoons of dulce de leche into the bottom of each mold to form the caramel base. Spread gently so each cavity is covered.
- In a blender or with a whisk, combine the sweetened condensed milk, whole milk, eggs, vanilla, and cinnamon. Blend or whisk until the mixture is smooth and pale. Stir in pecans if using.
- Pour the cake batter evenly over the caramel in each cavity. Then carefully pour the flan mixture on top of the cake layer. Pour slowly so layers stay distinct.
- Place the filled pan inside a larger baking dish. Pour hot water into the larger dish until it reaches about halfway up the sides of the cake pan to create a water bath.
- Bake for 35–40 minutes, or until a toothpick inserted into the center comes out mostly clean with only a few moist crumbs. Ovens vary; start checking a few minutes early.
- Remove from oven and let cool to room temperature. Refrigerate for at least 2 hours to set.
- To unmold, run a thin knife around each cavity if needed, then invert each mini flan onto a serving plate so the caramel tops the dessert.
Tips and reminders
- I bring eggs and milk to room temperature before mixing for a smoother texture.
- I chill the mini flans well; the flan firms up and slices cleanly after refrigeration.
- I use good quality dulce de leche for a richer flavor.
- I check doneness a little early because baking times can differ.
- I lightly grease molds to help unmolding without damaging the layers.
Estimated nutrition per serving
- Calories: about 270 kcal
- Note: Nutrition varies by brand of cake mix, dulce de leche, and exact portion sizes.
Frequently Asked Questions
Can I use bigger molds instead of minis?
Yes. I can bake them in larger molds, but I must add time. Larger molds often need up to about 60 minutes. I check more often toward the end to avoid overbaking.
Is there a way to make these without eggs?
Yes. I substitute eggs with a mix of cornstarch and water or a store-bought egg replacer. I follow package or recipe ratios so the texture stays smooth.
What do I do if the flan stays runny?
I confirm the water bath level and oven temperature are steady. I give it extra baking time in small increments and let it cool fully before testing.
Can I mix in other tastes or spices?
Yes. I add coffee extract, citrus zest, nutmeg, or similar flavors. I add sparingly and taste as I go.
How can I tell the flan is done?
I look for a slight jiggle in the center and a mostly set surface. A skewer or toothpick should come out clean or with only tiny moist crumbs.
Final Thoughts
I love how mini choco flans mix silky flan with deep chocolate in one small bite. They are simple to make but feel special, so I often bring them to gatherings or keep them for a cozy night in. Try small tweaks like different toppings or a splash of vanilla to make them my own. Serve chilled, garnish lightly, and enjoy the balance of creamy and rich textures.
FAQs
- How do I know the mini choco flan will set properly?
I test the flan by gently jiggling the pan after baking; it should wobble slightly but not be liquid. If it seems too loose, I give it another 5–10 minutes in the oven at low heat. Cooling fully at room temperature, then chilling for at least 2 hours, helps the flan firm up. - Is this dessert safe for kids and people with food allergies?
The basic recipe uses eggs, dairy, and gluten (in the cake). I always check labels and offer clear ingredient notes. For allergies, I suggest substitutes like gluten-free flour, dairy-free milk and condensed milk alternatives, and egg replacers, but I test those swaps first because texture can change. - How should I store leftover mini chocoflans and how long will they keep?
I cover each flan loosely and store them in the fridge. They stay good for 3–4 days. Avoid freezing unless you accept some texture change; if you do freeze, wrap tightly and thaw in the fridge before serving. - What steps keep the caramel smooth and from crystallizing?
I heat the sugar slowly and avoid stirring once it starts melting; I swirl the pan gently instead. Using a small amount of water at the start helps even melting. If crystals form on the sides, I brush them down with a wet pastry brush to keep the caramel clear. - Can I make mini choco flans ahead of time for an event?
Yes. I make them a day ahead, chill them overnight, and unmold just before serving. That keeps them neat and cuts prep stress on the serving day. - How do mini choco flans compare to a full-size chocoflan or other desserts?
I find minis bake more evenly and are easier to serve. They offer the same two-layer contrast—silky flan and chocolate cake—but in single portions. They also cool faster and require less baking time than a full-size flan. - What maintenance or tricks help get consistent results each time?
I measure ingredients precisely, use room-temperature eggs, and preheat the oven. I also use a water bath for even baking and check doneness with a gentle jiggle. Consistent pans and portion sizes make results repeatable.
Conclusion
I recommend trying mini choco flan when you want a dessert that looks special but stays simple to make. It pairs creamy flan with a rich chocolate base and a caramel top, giving clear layers and balanced flavors. I find the individual ramekin format helps with portion control and makes serving easy.
Key benefits I note:
- Effective: the recipe reliably yields distinct flan and cake layers when baked in a water bath.
- Safe: standard baking and egg-custard practices keep the dessert food-safe when you follow temperature and cooking times.
- Eco-friendly: baking small, individual portions reduces waste and lets you use only the ingredients you need.
- Suitable: this dessert fits both casual gatherings and special occasions because it is elegant without being fussy.
Tips I rely on for consistent results:
- Grease ramekins well and use a tight water bath to prevent cracks.
- Use fresh eggs and strain the custard for a smooth texture.
- Cool fully before inverting so the caramel sets cleanly.
Choose a trusted recipe and stick to basic techniques for best long-term results. I encourage you to make a batch soon — the process rewards you with a memorable dessert that guests appreciate.