
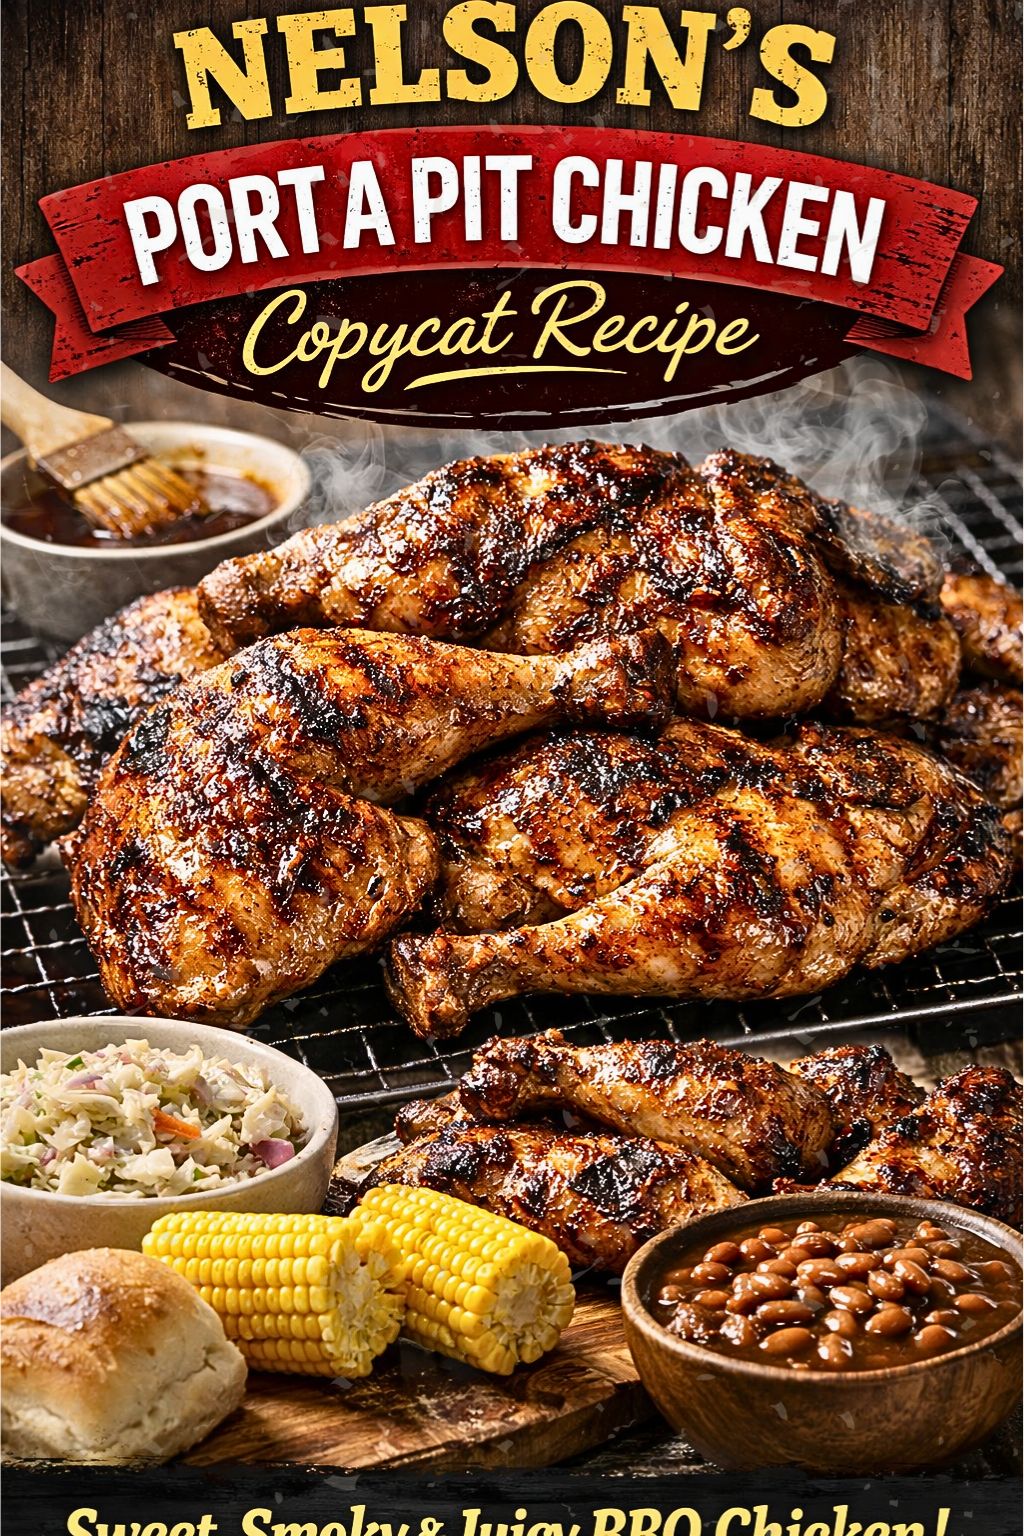
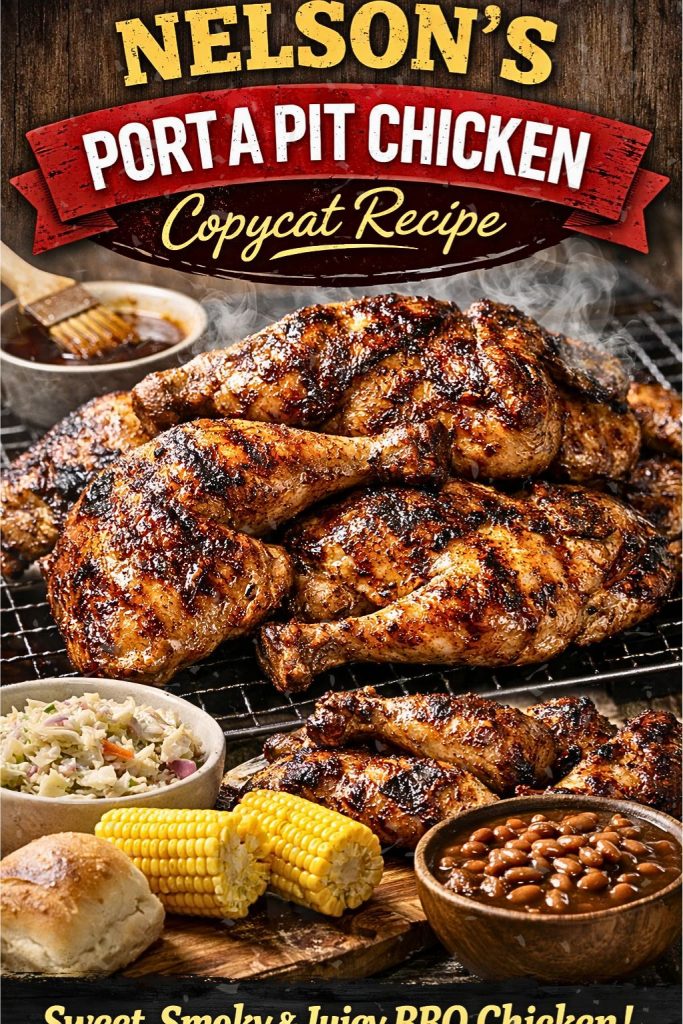
Nelsons Port A Pit Chicken Copycat Recipe
I love a good cookout, and Nelson’s Port-A-Pit Chicken has always been my go-to for outdoor meals. Its crisp skin and juicy meat hit the right mix of tang and savory flavor, making it easy to pair with simple sides like a zesty pasta salad or grilled vegetables.
Before I share the recipe steps, I want to give a quick look at what makes this chicken special: a straightforward seasoning approach, slow cooking for tender results, and a basting method that locks in flavor. Understanding these basics helps you get reliable, tasty results every time.
Key Takeaways
- The dish combines crisp skin with juicy, flavorful meat.
- Simple techniques and seasonings create authentic, smoky taste.
- Slow cooking and regular basting improve tenderness and flavor.
What Nelson’s Port-A-Pit Chicken Means to Me
I think of Nelson’s Port-A-Pit as a Midwest barbecue classic that stands apart. I’ve seen it slow-roasted over coals so the skin turns crisp while the meat stays very juicy.
A tangy glaze or sauce gets brushed on during cooking, giving it a balanced sweet-and-sour bite.
- Cooked low and slow over an open pit
- Crisp outside, tender inside
- Often served at fairs, fundraisers, and community events
I prefer this style when I want smoky flavor with reliable, juicy results.
The Ingredients
I use 6–8 lbs mixed chicken pieces.
I mix 1 cup filtered water and 1 cup white vinegar.
I melt 1 lb unsalted butter with 2 tbsp sea salt, 1 tbsp ground black pepper, and 2 minced garlic cloves.
I stir in 2 tbsp Dijon mustard and 4 tbsp Worcestershire sauce.
How to Make Nelson’s Port-A-Pit Chicken
Step-by-Step Directions
I break the process into clear parts so you can follow along easily. Gather your chicken, marinade ingredients, butter, and a grill. Plan for at least a few hours total, including marinating and resting time.
Step 1: Marinate the Chicken
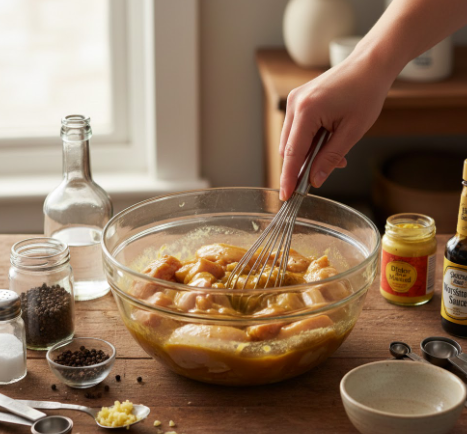
I mix water, white vinegar, salt, pepper, minced garlic, Dijon mustard, and Worcestershire sauce in a large bowl. I whisk until smooth, add the chicken pieces, and toss to coat every piece. I cover the bowl and chill it for at least 2 hours, but I prefer to leave it overnight for deeper flavor.
Step 2: Prepare the Grill
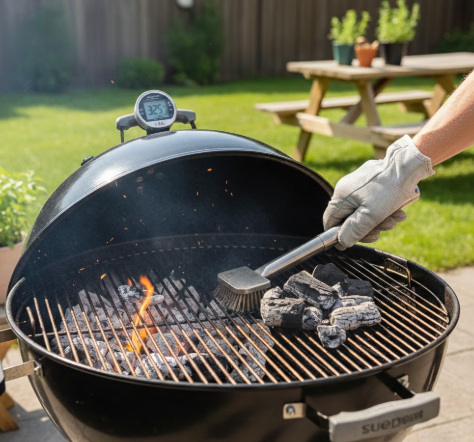
I set up the grill for two-zone cooking: coals or burners on one side for high heat, the other side left cooler. I preheat until the temperature is steady at medium. This gives me a hot side for searing and a cooler side for gentle cooking.
Step 3: Cook the Chicken
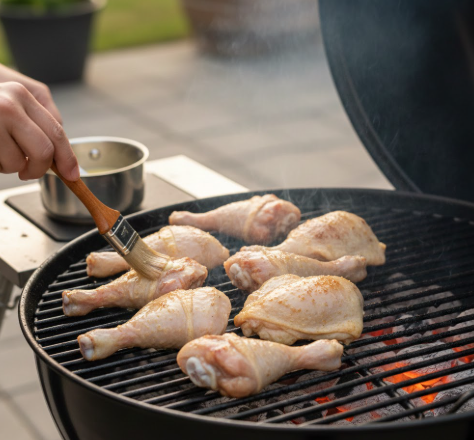
I melt unsalted butter over low heat and brush a generous coat on each piece. I place the chicken skin-side down on the cooler side of the grill, close the lid, and cook slowly. Every 15 minutes I baste with the remaining butter to keep the meat moist.
Step 4: Flip and Sear
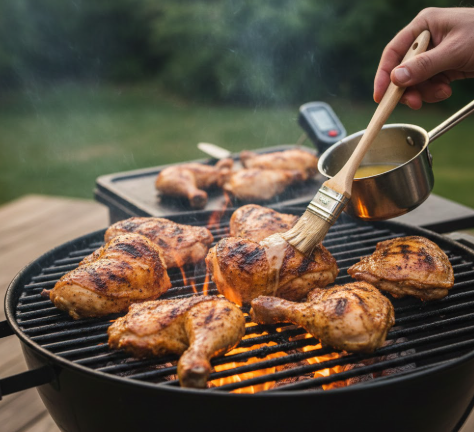
After about 30 minutes of slow cooking, I move each piece to the hot side and flip to sear the skin. I continue to baste and watch the grill closely. I cook until the internal temperature reaches 165°F (use a meat thermometer) and the skin is crisp and browned.
Step 5: Rest and Serve
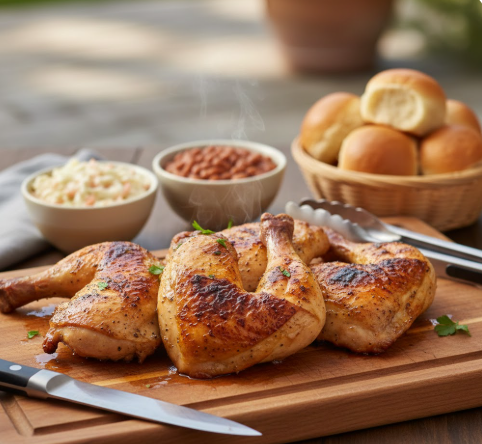
I remove the chicken and let it rest for about 10 minutes so juices settle. I serve with sides like coleslaw, baked beans, or rolls. I slice or pull pieces as needed and enjoy the tender, flavorful meat.
Notes
I use a meat thermometer so I stop guessing and cook the chicken to the right temperature. I like to marinate the bird overnight so the flavors sink in. I always include butter; it helps keep the meat moist and adds a rich taste. I avoid constant high heat and cook slowly when possible to prevent dryness and toughness. I keep a spray bottle of water nearby to control grill flare-ups quickly.
Quick checklist
- Thermometer on hand
- Marinated overnight
- Butter added
- Low, steady heat
- Spray bottle ready
Storage Tips
I keep leftovers in an airtight container in the fridge and use them within three days.
To rewarm, I heat the oven to 350°F and bake the chicken 10–15 minutes until hot.
I avoid the microwave because it often makes the meat tough.
Serving Ideas I Recommend
I like pairing this chicken with a bright Italian pasta salad—its tang and chickpeas cut the richness.
Grilled corn on the cob adds a sweet contrast and a smoky bite.
Creamy coleslaw brings a cool, crunchy texture that balances the sauce.
Roasted potatoes give a hearty, savory side that soaks up juices well.
Lightly steamed green beans add color, fiber, and a fresh bite.
- For a simple plate, pick two sides: one starchy (potatoes or pasta salad) and one vegetable (corn or green beans).
What Other Substitutes Can I Use in Nelson’s Port-A-Pit Chicken?
I swap ingredients to match taste or what I have on hand. I use apple cider vinegar for a fruitier tang, or olive oil instead of butter for a lighter fat. I’ll choose maple syrup in place of Worcestershire for mild sweetness and depth. Garlic powder works when fresh garlic isn’t available. For salty, savory boost, I sometimes replace plain salt with a splash of soy sauce to add umami.
Nelson’s port a pit chicken copycat recipe
Tools I use
- Large mixing bowl
- Charcoal or gas grill with lid
- Small saucepan
- Basting brush
- Meat thermometer
- Tongs and a spray bottle for flare-ups
What goes in it
- 6–8 lbs mixed chicken pieces (thighs, legs, breasts)
- 1 cup filtered water
- 1 cup white vinegar
- 1 lb unsalted butter
- 2 tbsp sea salt
- 1 tbsp freshly ground black pepper
- 2 garlic cloves, minced
- 2 tbsp Dijon mustard
- 4 tbsp Worcestershire sauce
How I make it
- Mix the marinade: whisk water, vinegar, salt, pepper, garlic, mustard, and Worcestershire in the large bowl until blended.
- Add the chicken and turn pieces to coat. Cover and chill at least 2 hours, or overnight for best flavor.
- Heat the grill: for charcoal push coals to one side; for gas light half the burners. Aim for medium heat and let the grill preheat.
- Melt the butter gently in the saucepan and reserve most for basting. Brush each piece with butter before grilling.
- Place chicken skin-side down on the cooler side of the grill. Close the lid and cook slowly, basting every 15 minutes.
- After about 30 minutes move pieces to the hotter side and flip to crisp the skin. Continue basting and cook until the internal temperature reaches 165°F (use the meat thermometer).
- Remove chicken and let rest 8–10 minutes before serving so the juices settle.
Helpful tips
- Use a meat thermometer to know when the chicken is safe and not overcooked.
- Marinating overnight gives deeper flavor and more tender meat.
- Keep the butter in play — it adds moisture and a rich taste.
- Cook over indirect heat first, then finish on direct heat to avoid drying the meat.
- Keep a spray bottle of water handy to control flare-ups without losing heat.
Estimated nutrition
- Calories per serving (approx): 692 kcal
- Notes: calories vary with piece size and how much butter sticks to the chicken. Adjust portions and trim skin to reduce calories.
Frequently Asked Questions
1. Can I bake this chicken instead of grilling?
Yes. I preheat my oven to 375°F, arrange the marinated pieces on a baking sheet, and bake 45–50 minutes. I baste with melted butter or pan juices a few times so the skin stays moist and the flavor stays rich.
2. How do I make this dish safe for a gluten-free diet?
I treat the recipe as naturally gluten-free but always read labels. I swap any Worcestershire, mustard, or seasoning blends for certified gluten-free versions to avoid hidden gluten.
3. What method keeps leftovers juicy when reheating?
I reheat in the oven at 350°F for 10–15 minutes. I cover the chicken loosely with foil and add a splash of broth or butter to prevent drying. This keeps meat tender and skin acceptable.
4. Can I freeze chicken after it’s been marinated?
Yes. I place marinated pieces in a freezer-safe bag or container and freeze up to three months. I thaw fully in the fridge before cooking.
5. What works if I don’t have Dijon mustard?
I use yellow mustard or honey mustard as simple swaps. They change the flavor slightly but still give tang and help the glaze stick.
Final Thoughts
I like how simple flavors and steady heat turn plain chicken into something people remember. Follow the steps I used, keep the marinade balanced, and give the bird enough time to cook slowly for the best texture and taste. Invite friends or family to share the meal; cooking this way makes gatherings more relaxed and fun.
Tips I rely on:
- Use a mix of butter, vinegar, and savory seasonings for moisture and depth.
- Maintain low, consistent heat to keep meat juicy.
- Baste occasionally for a glossy, flavored finish.
FAQs
- Q: How do I know this copycat will match the flavor of Nelson’s Port-A-Pit?
I base the recipe on the core techniques that give Port-A-Pit its taste: a simple savory marinade, repeated basting, and slow, even cooking. If you follow the marinade ratios and cook low and slow while basting, you’ll get a similar smoky, tender result. Exact match depends on your grill or oven and the ingredients you use. - Q: Is the recipe safe to make at home for my family?
Yes. I recommend standard food safety: cook chicken to an internal temperature of 165°F (74°C), avoid cross-contamination, and refrigerate leftovers within two hours. Use a meat thermometer to be sure. - Q: Will this method keep the chicken moist and tender?
Yes. The combination of a vinegar-based or buttered basting liquid and slow cooking helps lock in moisture. I also suggest brining or using a salt-based marinade for extra juiciness before cooking. - Q: What equipment do I need, and how does it compare to the commercial Port-A-Pit setup?
You can use a home grill, smoker, or oven. Commercial Port-A-Pit uses a large rotating system for even basting and slow heat. At home, I recommend a covered grill or roaster and frequent basting or a drip pan to mimic that even, moist environment. - Q: How do I maintain the flavors over time and for repeated batches?
Keep the marinade and basting mix consistent and store it in the fridge up to a few days. Clean your grill or smoker after each use to prevent old residues from affecting flavor. I also rotate wood chips or charcoal types if you want a steady smoky profile. - Q: Can I adapt this recipe for different portion sizes or cuts of chicken?
Yes. I scale the marinade and cooking time by weight. Whole chickens take longer and benefit most from the slow-baste method; thighs and drumsticks cook faster and stay moist with the same basting technique. - Q: How does this home method compare to other barbecue styles?
This method focuses on wet basting and slow, steady heat for tender, pull-apart texture. It differs from dry-rub, high-heat grilling (which gives crisp skin and quicker cook times) and from long cold-smoking (which adds more smoke but can dry meat). I choose this style when I want juicy, saucy chicken with a mild smoky note.
Conclusion
I’ve tested and tweaked this Nelson’s Port-A-Pit chicken copycat to capture the key flavors and method people love. The marinade and slow, steady cooking give the bird a smoky, juicy result while keeping the recipe safe and easy to follow.
- Flavor: The butter-vinegar-Worcestershire blend and basting create that savory, tangy glaze people expect.
- Safety: Brining and proper internal temperature checks keep the chicken tender and bacterially safe.
- Eco-friendliness: Making this at home cuts packaging waste and food miles compared with store-bought or mass-produced options.
- Suitability: The recipe works for weeknight meals, fundraisers, and small gatherings. It adapts well to charcoal, gas, or oven methods.
Choose reliable ingredients and follow food-safety steps for consistent, long-term results. I recommend making a test batch, note what you like, and keep refining the marinade and basting timing to match your taste.