
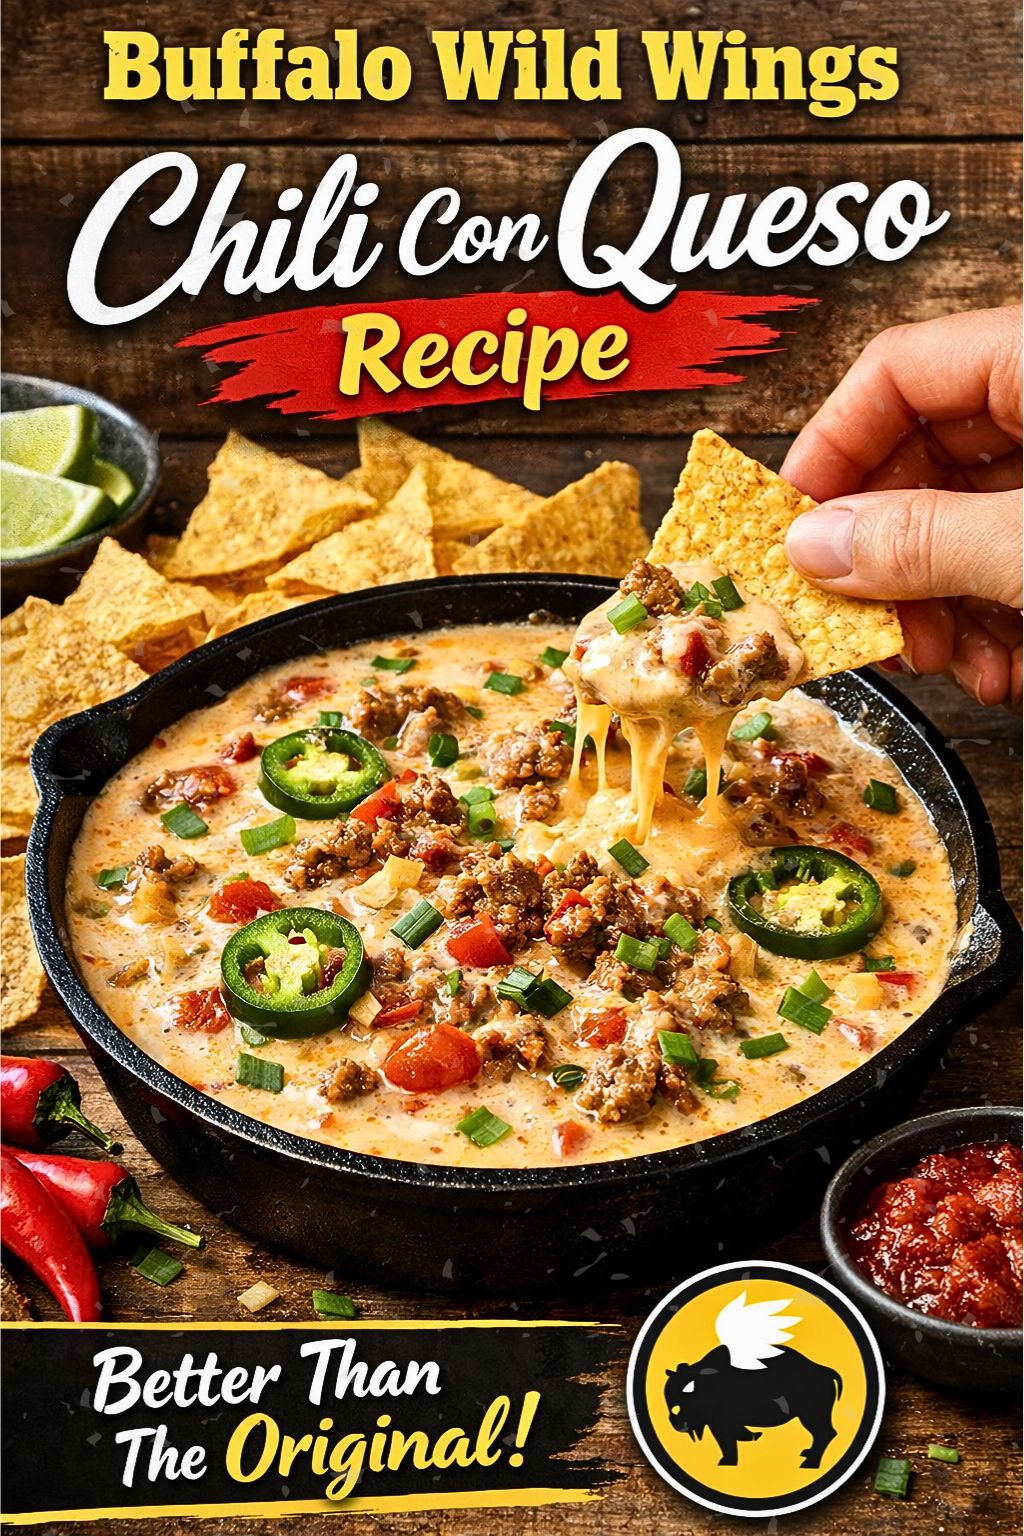
Buffalo Wild Wings Chili Con Queso Recipe: Authentic Copycat Version With Tips
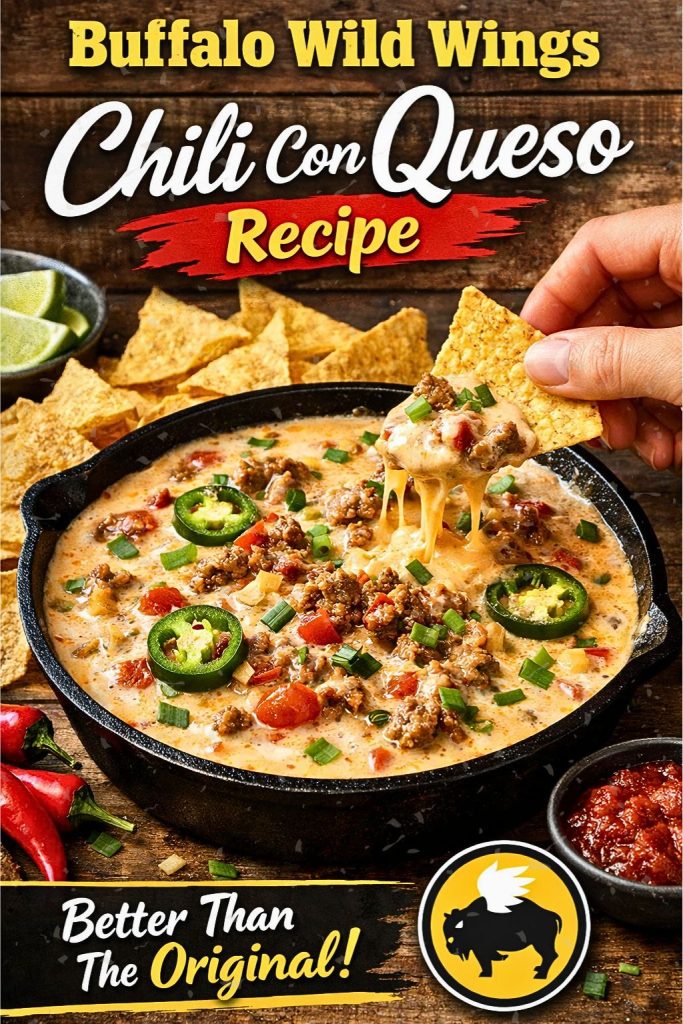
I love how a simple dip can bring a table together. Buffalo Wild Wings Chili Con Queso pairs creamy, melted cheese with spicy chili, and it works well with chips, warm tortillas, or pita. I often serve it as a starter at barbecues or game nights because it complements grilled meats and a bright slaw.
This queso also doubles as a topping for nachos or a hearty addition to bowls and sandwiches. I’ll show how straightforward ingredients and a few smart steps create a rich, shareable dip that fits many occasions.
Key Takeaways
- The dip blends creamy cheese and spicy chili for broad appeal.
- It pairs well with chips, tortillas, grilled foods, and slaws.
- Simple ingredients and easy steps make it a great party starter.
What I mean by Buffalo Wild Wings Chili Con Queso
I describe a creamy cheese dip mixed with savory chili and bold spices.
It combines melted cheese, seasoned ground beef or canned chili, and peppers for heat.
I serve it warm for dipping chips or spooning over nachos at parties or game days.
What the Dish Tastes Like
I find this chili con queso to be creamy and bold. The base of melted Velveeta gives a smooth, rich mouthfeel.
Meaty chili adds hearty, savory notes while chili powder and cumin bring warm, smoky spices. Fire-roasted tomatoes give a mild tang. Jalapeño adds a bright, spicy bite that livens each spoonful.
- Texture: velvety cheese with chunky chili
- Heat level: mild to medium, adjustable
- Taste balance: rich, savory, smoky, slightly tangy
Why You’ll Love This
I make a smooth, spicy chili con queso that tastes rich but stays simple to prepare. It melts into a creamy dip that holds up for chips or tacos. I can finish it quickly even if I’m new to cooking, and it delivers crowd-pleasing flavor without fuss. Bold taste, easy steps, great for gatherings.
Ingredients
I gather the items below to make the queso with chili.
- 32 oz Velveeta, cubed
- 1 tbsp extra-virgin olive oil
- 1/2 cup sweet onion, finely chopped
- 1 small jalapeño, seeded and minced
- 1/2 tsp ground cumin
- 1/2 tsp smoked chili powder
- 1/2 tsp roasted garlic powder
- 1/2 tsp smoked paprika
- 1/2 tsp kosher salt and 1/4 tsp black pepper
- 1 (10 oz) can fire-roasted diced tomatoes with green chilies, drained
- 1 (15 oz) can hearty chili (no beans)
- 1/4 cup fresh cilantro, chopped (optional)
- 1 tsp lime juice (optional)
- Tortilla chips for serving
Step by Step Instructions
Step 1: Cook the Onions and Peppers

I heat 1–2 tablespoons of extra-virgin olive oil in a large skillet over medium heat.
I add finely chopped sweet onion and minced jalapeño.
I cook for 3–5 minutes until the onion is translucent and the jalapeño softens.
Step 2: Toast the Spices
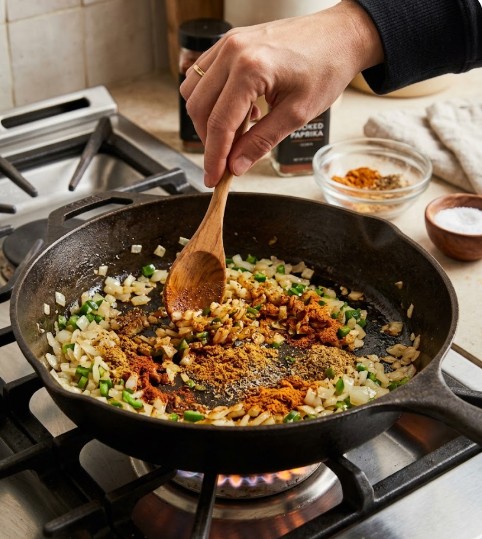
I lower the heat slightly and add ground cumin, smoked chili powder, roasted garlic powder, smoked paprika, kosher salt, and freshly cracked black pepper.
I stir constantly for 30–60 seconds so the spices bloom and coat the aromatics.
This step builds a richer, deeper flavor base.
Step 3: Melt the Cheese Slowly

I cut Velveeta into cubes and add them to the skillet.
I reduce the heat to low and stir often to melt the cheese evenly.
I keep the cheese from sticking or burning by stirring until it is smooth and glossy.
Step 4: Fold in Tomatoes and Chili

I add fire-roasted diced tomatoes with green chilies and a can of bean-free chili to the melted cheese.
I stir gently until the tomatoes and chili are fully mixed into the cheese.
I maintain low heat to keep the mixture creamy.
Step 5: Finish with Fresh Brightness
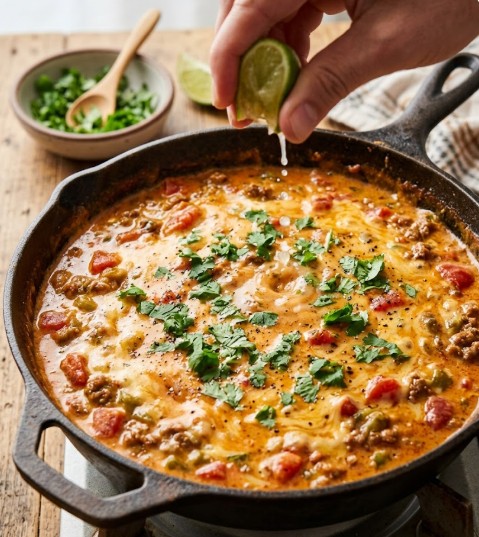
I taste and add chopped cilantro and a squeeze of lime juice if I want brightness.
I let the dip simmer on low for about 5 minutes so flavors blend.
I serve warm with tortilla chips.
Tips & Tricks
- I soften the heat by swapping jalapeños for sweet bell peppers when guests prefer milder flavors.
- I melt cheese slowly over low heat to keep the dip silky and lump-free.
- If the dip gets too thick, I stir in a tablespoon of milk or cream at a time until the texture feels right.
- I always use fresh cilantro and a squeeze of fresh lime for brighter, cleaner flavors.
- When serving a crowd, I double the ingredients; the recipe scales well without losing taste.
How I Store This Chili Con Queso
I let the dip cool completely, then spoon it into an airtight container. I keep it in the fridge for up to 4 days. To reheat, I warm it slowly on the stove or in the microwave and stir in a splash of milk or cream to loosen the texture.
Pantry Alternatives
Swap List (Ingredients)
I keep a few easy swaps on hand when I can’t find the original ingredients.
- Velveeta: I mix sharp cheddar with a little cream cheese to get a smooth, creamy texture.
- Fire-roasted tomatoes: I use regular diced tomatoes and add a pinch of smoked paprika for that charred flavor.
- Bean-free chili: I use canned chili with or without beans, or my own chili, and tweak the spices to match.
- Jalapeño: I swap in a mild green pepper if I want less heat.
- Thicker dip: I stir in a tablespoon of milk or cream to loosen the texture.
Bold substitutes to try:
- Cheddar + cream cheese instead of Velveeta
- Diced tomatoes + smoked paprika instead of fire-roasted tomatoes
- Canned chili or homemade chili instead of the specific bean-free can
Cooking Steps Alternatives (Method)
I follow basic steps but adjust them to work with pantry finds.
- Sauté aromatics: I heat oil and cook onions and any pepper until soft.
- Toast spices: I add cumin, smoked chili powder, garlic powder, smoked paprika, salt, and pepper and cook briefly to bloom the flavors.
- Melt cheese: I lower the heat and stir in grated cheddar and cream cheese slowly so the mixture becomes smooth.
- Add tomatoes and chili: I fold in drained tomatoes and the chili, then simmer gently for a few minutes to combine.
- Finish: I taste and add a squeeze of lime or chopped cilantro if I have them.
If I use a different cheese, I shred it small and melt slowly. If the dip breaks or gets grainy, I whisk in a splash of milk over low heat.
Calories and Serving Notes (Nutrition)
I estimate nutrition roughly so you know what to expect.
- Serving size: about 1/4 cup per person as an appetizer.
- Calories: expect roughly 150–220 calories per 1/4 cup depending on cheese type and amount of chili used.
- Fat and sodium: cheese-heavy dips are high in fat and sodium. Using part-skim cheese and low-sodium canned chili cuts these.
- Protein: the chili and cheese add some protein, usually 4–8 grams per serving.
- Fiber and carbs: tomatoes and any beans add fiber and carbs; bean-free versions lower fiber but also lower carbs slightly.
I recommend portion control and pairing the dip with veggies or whole-grain chips for a better balance.
Extra Tips and Reminders (Notes)
I rely on a few simple tricks to keep the dip consistent.
- Heat control: I always melt cheese on low to avoid graininess.
- Texture fixes: If the dip gets too thick, I add milk a tablespoon at a time. If it’s too thin, I simmer a bit longer.
- Spice control: I remove seeds from jalapeño or use milder peppers to cut heat. Add hot sauce or extra jalapeño for more kick.
- Make-ahead: I store leftovers in the fridge and reheat gently with a splash of milk.
- Scale-up: I double ingredients easily for a crowd; just keep the same order of steps and melt slowly.
I keep fresh cilantro and lime handy for brightening the finished dip when possible.
FAQs
1) Can I make the dip before serving?
Yes. I often make this dip a day ahead and chill it overnight. Reheat gently on low heat or in short bursts in the microwave, stirring often so it warms evenly.
2) How do I fix a dip that’s too thin?
I thicken runny queso by stirring in more shredded cheese or letting it simmer on low until it reduces. You can also mix in a small spoonful of cornstarch slurry (1 tsp cornstarch + 1 tbsp cold water) and cook until it thickens.
3) Is freezing leftovers a good idea?
I do not freeze this dip. Freezing can make the cheese grainy and change the texture. Store leftover dip in the fridge for up to 3–4 days in an airtight container and reheat slowly.
4) How can I make a meat-free version?
I replace the meat with canned black beans, cooked pinto beans, or a vegetarian chili. I also check that the cheese and other items are labeled vegetarian.
5) Can I swap fresh tomatoes for canned?
Yes. I dice and roast fresh tomatoes first to deepen their flavor, then add them to the queso. I keep any extra green chiles separate so I can control the spice.
Conclusion
I love how this cheesy, spicy queso brings people together. It warms plates and hands fast, and it works for parties, game nights, or a quiet snack. I often serve it with tortilla chips, fresh veggies, or on top of nachos to add extra flavor.
Keep the heat level and mix-ins simple so the cheese stays smooth and creamy. Taste as you go and adjust seasonings to match your guests. This dip disappears quickly, so plan for refills or double the batch when feeding a crowd.
FAQs
- What makes my chili con queso taste like Buffalo Wild Wings?
I focus on a creamy base, mild spicy heat, and chunky chili mixed with diced peppers and tomatoes. Using a processed melting cheese (like Velveeta) or a smooth queso-style cheese plus a small amount of shredded cheddar gives the same smooth texture and flavor balance. - Is this dip safe to keep warm for a party?
Yes. I keep queso at a safe temperature of at least 140°F (60°C) in a slow cooker or fondue pot. If left at room temperature, bacteria can grow after about two hours, so I either refrigerate leftovers quickly or keep them hot during service. - How long will leftovers last and how should I store them?
I cool leftovers within two hours, place them in an airtight container, and refrigerate. They stay good for 3–4 days. Reheat gently on low heat or in short bursts in the microwave, stirring often to keep the texture smooth. - Can I make the recipe less spicy for kids or mild eaters?
Absolutely. I reduce or omit jalapeños, green chilies, or hot sauce. I add more mild diced tomatoes or a touch of bell pepper for texture without heat. Taste and adjust in small steps so you don’t lose the overall flavor. - How does this queso compare to simpler melted-cheese dips?
My version adds seasoned chili and fresh veggies, so it has more texture and a fuller savory flavor than plain melted-cheese dips. It takes a little more prep but gives more depth and works both as a dip and a topping. - What maintenance does the dip require if I serve it during a game or event?
I stir the queso occasionally to prevent skin or separation and check the temperature to keep it above 140°F. If the sauce thickens, I stir in a tablespoon of milk or cream to restore creaminess. - Can I make a lighter version that still tastes good?
Yes. I swap part of the cheese with low-fat melting cheese, use lean ground turkey or omit meat, and add more tomatoes and roasted peppers. The texture changes slightly, but seasoning and small amounts of full-fat cheese help keep the flavor satisfying.
Final Thoughts
I found that this Buffalo Wild Wings–style chili con queso hits the mark when it balances creamy cheese, seasoned chili, and fresh toppings. It works well for game days or casual gatherings and stays safe and easy to prepare when you follow basic food-handling steps.
- Flavor and texture: Creamy cheese combined with savory chili delivers a rich, crowd-pleasing dip that holds up well for serving.
- Safety and prep: Use fully cooked meat, keep hot dips above 140°F, and refrigerate leftovers within two hours to prevent spoilage.
- Eco and cost sense: Making this at home usually costs less and generates less single-use packaging than store-bought party trays.
- Long-term choice: I recommend choosing reliable ingredients—pasteurized cheeses, quality canned chili or well-seasoned homemade chili—for consistent results every time.
Try this recipe when you want a dependable, tasty queso that’s simple to scale. I’m confident it will become one of your go-to party favorites.