
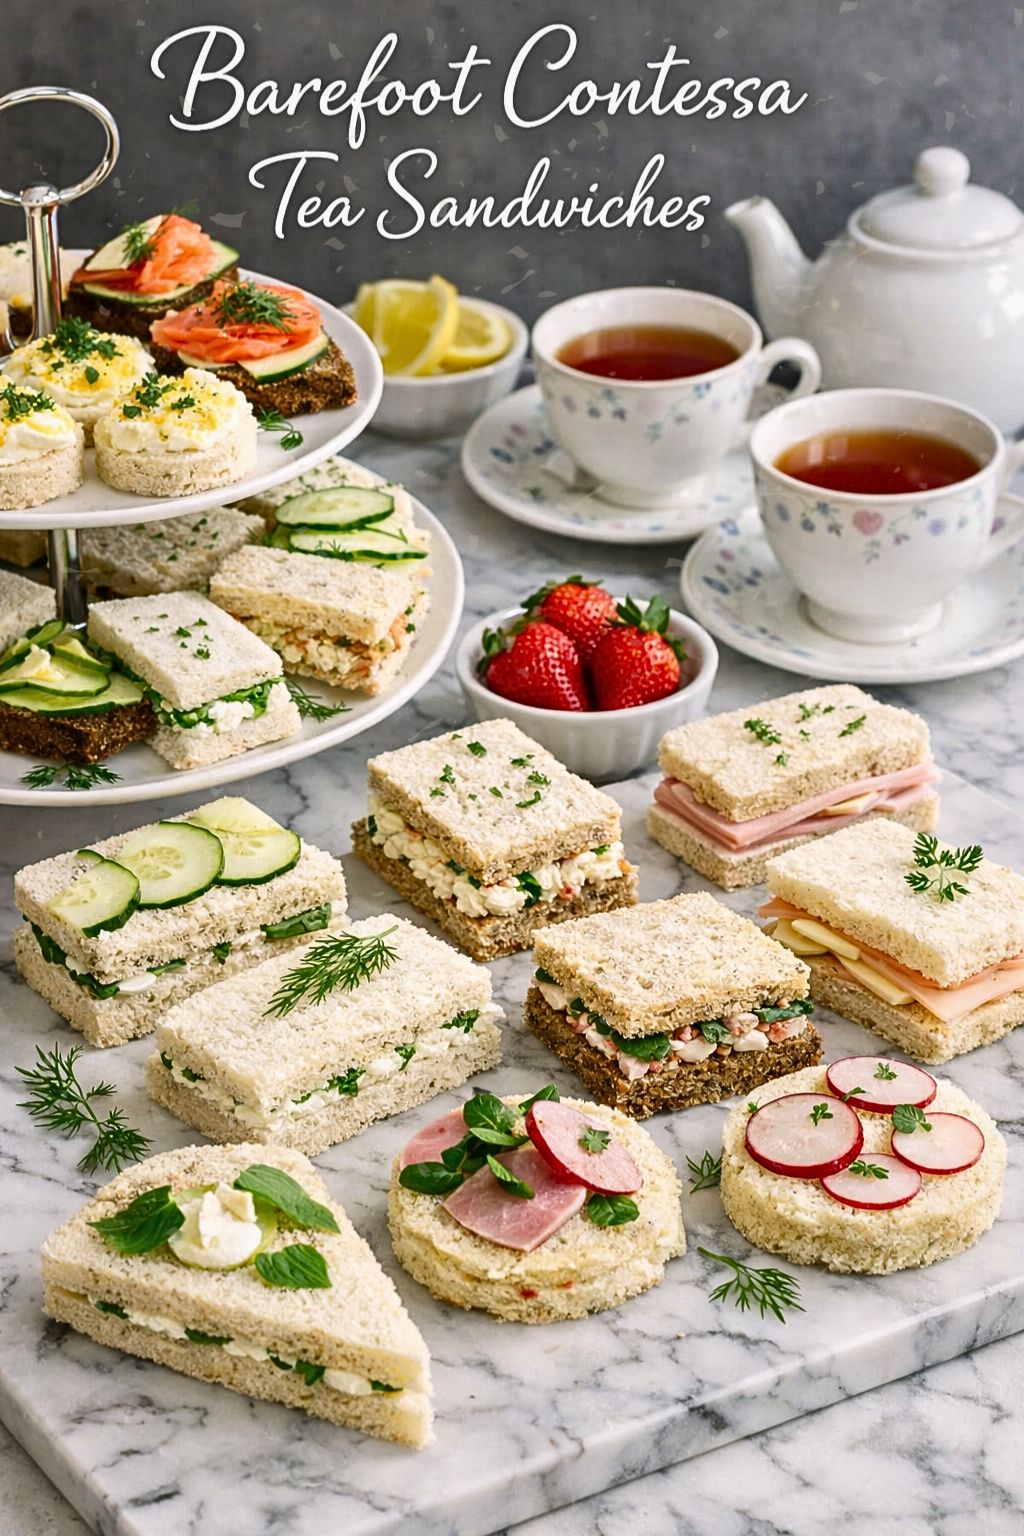
Barefoot Contessa Tea Sandwiches
I love simple, elegant snacks that people actually want to eat, and Barefoot Contessa tea sandwiches fit that bill. Small, crustless, and full of fresh flavors, these finger sandwiches work for tea parties, quick lunches, or casual gatherings. I find them easy to make and easy to adapt to what I have on hand.
I’ll show you how to pull together classic fillings, swap ingredients when needed, and store leftovers so nothing goes to waste. Expect plain directions, practical tips, and a few tricks that make assembly faster and neater.

Key Takeways
- Tea sandwiches are quick to assemble and suit many occasions.
- Simple swaps let you use what you already have without losing flavor.
- Proper storage keeps assembled sandwiches fresh longer.
What I Mean by Barefoot Contessa Tea Sandwiches
I make these tea sandwiches as small, crustless finger sandwiches built from thin bread and simple fillings. I follow Ina Garten’s style: fresh ingredients, clean flavors, and neat presentation.
I serve them as light bites for parties, showers, or afternoon tea. I layer fillings like cucumber and cream cheese, smoked salmon, or egg salad, then trim off crusts and cut into rectangles or triangles.
I like that they’re easy to assemble ahead of time and can be arranged on a platter. They work well with scones, fruit, or pastries for a balanced spread.
Where I First Tasted Barefoot Contessa Tea Sandwiches
I tasted these tea sandwiches at a friend’s dinner party. The moment I walked in, the kitchen smelled inviting and I followed it to a platter of small, triangular sandwiches arranged like little bites of comfort.
They used thin white bread, lightly toasted, with the crusts removed. A pale, creamy spread held everything together — tangy and smooth from a mix that tasted like cream cheese with a bit of mayo, salt, and pepper. Each triangle held a different filling: bright cucumber slices, peppery watercress, silky smoked salmon, and a classic egg salad.
The textures stood out: soft bread, creamy spread, and crisp or tender fillings. The flavors were balanced and simple, not heavy. One sandwich might be fresh and cool from cucumber, and the next smoky from salmon. I liked how each bite had its own character.
Seeing them sparked me to try making them at home. I searched recipes and settled on Ina Garten’s approach because it matched what I remembered — elegant, easy, and reliable. Now I keep the components on hand for small gatherings or quick snacks. These sandwiches make a plain afternoon feel a bit more special.
Ingredients
- Bread: I use thin-sliced white or whole-wheat bread for easy handling. I trim the crusts and cut the slices into small triangles for a neat presentation.
- Cream cheese: I soften the cream cheese at room temperature so it spreads smoothly over the bread.
- Mayonnaise: I mix a little mayonnaise into the cream cheese to loosen the texture and add creaminess.
- Lemon juice: I add a few drops of lemon juice to brighten the spread without making it tangy.
- Salt and pepper: I season the spread lightly with salt and freshly ground black pepper to balance the flavors.
- Fillings: I choose from thin cucumber slices, smoked salmon, watercress, egg or chicken salad, or other small fillings. I keep fillings thin and modest so sandwiches stay delicate.
Cooking Directions
Step 1 — Mix the spread
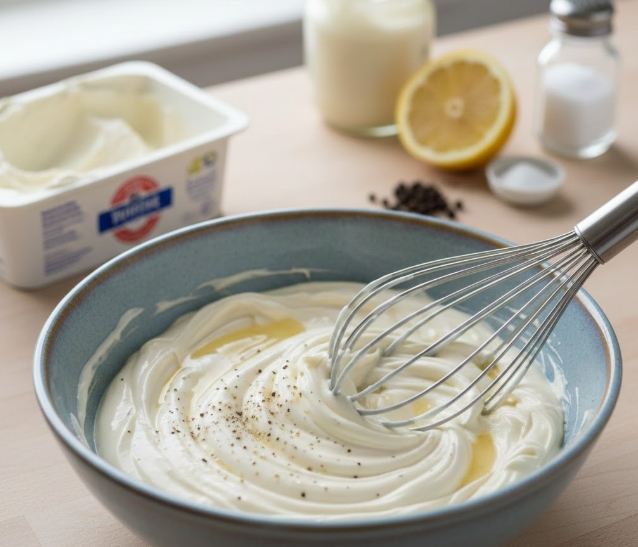
I stir cream cheese, mayo, lemon juice, salt, and pepper in a bowl until smooth and even.
Step 2 — Spread the mixture
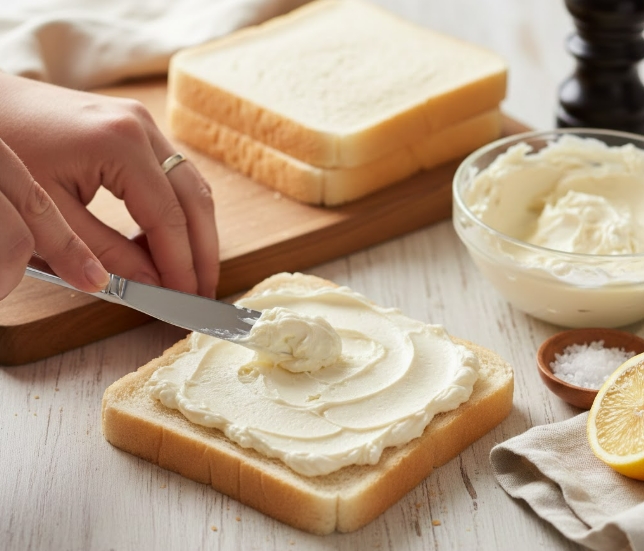
I spread a thin, even layer of the cheese mixture onto each bread slice using a knife.
Step 3 — Add fillings
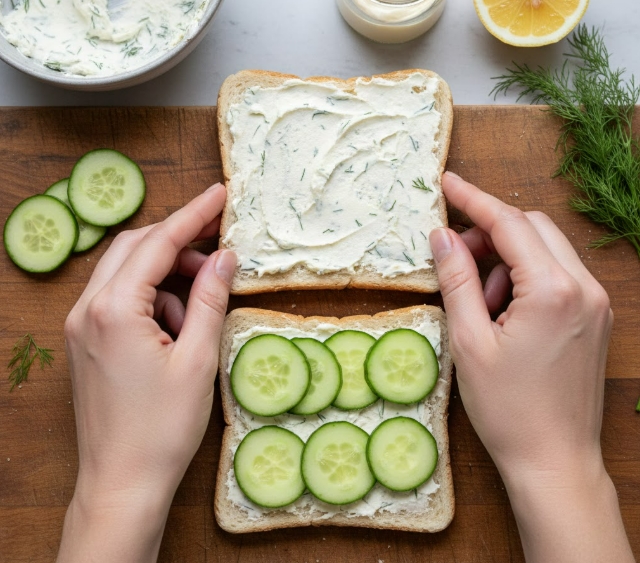
I place cucumber slices or other fillings on one slice, then top with the second slice to form sandwiches.
Step 4 — Trim and cut

I trim crusts if needed, then cut sandwiches into triangles or rectangles.
Step 5 — Finish and serve

I add simple garnishes and arrange the sandwiches on a platter for serving.
Tips
I boost flavor by stirring chopped fresh herbs or a pinch of spice into the cream cheese. I pick thinly sliced breads—rye, sourdough, or white—so the filling stays the star. I always soften cream cheese before mixing; it blends smoother and spreads without tearing the bread. If I’m short on time, I use room-temperature cream cheese to skip waiting. When I have a moment, I make a quick homemade spread for a fresher taste and control over salt and herbs.
What Ingredients Can I Replace or Substitute While Making It?
Tools and gear I use
- Bowl — any medium mixing bowl works.
- Mixer — I use an electric mixer for a silky spread, but a hand whisk or sturdy fork will do.
- Knife and cutting board — for trimming crusts and slicing fillings.
- Spreader or small spatula — helps get an even, thin layer on bread.
- Plate or tray — for assembling and chilling sandwiches.
- Optional: food processor — if I want an ultra-smooth mixture fast.
Swaps for components
- Cream cheese: I swap for ricotta or well-drained cottage cheese when I want a lighter texture.
- Mayonnaise: I replace it with Greek yogurt or plain yogurt to cut fat and add tang.
- Lemon juice: I use white vinegar or apple cider vinegar if I’m out of lemons. Both add acidity but a slightly different flavor.
- Bread: I prefer thin-sliced white for classic tea sandwiches, but whole wheat, rye, sourdough, or gluten-free bread work fine. Just slice thinly.
- Fillings: I change fillings freely — cucumber, smoked salmon, tuna salad, ham and cheese, or herbed vegetables all work.
- Salt and pepper: I keep the measurements small. Adjust to taste if I swap salty fillings like smoked fish or cured meats.
How I change the steps when substituting
- If I use cottage cheese or ricotta, I blend it first for a smoother spread before adding yogurt or mayo.
- When using yogurt instead of mayo, I reduce lemon or vinegar slightly to avoid too much tang.
- With dense breads like sourdough, I press sandwiches gently and let them rest for a few minutes so fillings settle.
- If I choose smoked salmon or salty meats, I reduce added salt when mixing the spread.
- For quicker prep, I soften cream cheese in short bursts in the microwave or let it sit at room temperature for 20–30 minutes.
Extra tips and reminders
- I always taste the spread before assembling and adjust acidity, salt, or herbs.
- Fresh herbs (dill, chives, parsley) lift the flavor when I use lower-fat swaps.
- Keep slices thin to maintain a delicate bite typical of tea sandwiches.
- If time allows, chilling the assembled sandwiches 10–15 minutes makes cleaner cuts.
Nutrition Facts
I list per-sandwich values below:
- Calories: 144 kcal
- Fat: 8 g (Saturated 4 g)
- Sodium: 132 mg
- Carbohydrates: 14 g (Fiber 0 g, Sugars 3 g)
- Protein: 3 g
How I Store Leftover Barefoot Contessa Tea Sandwiches?
I put leftovers in an airtight container and refrigerate them. I eat them within three days for best taste.
If I need longer storage, I freeze sandwiches for up to three months, knowing texture and flavor can fade.
I label frozen containers with the date so I use older ones first.
FAQs
Can pregnant people eat these sandwiches?
I recommend they can, provided they have no allergies to any ingredients. I suggest using fully cooked fillings and pasteurized dairy to be safe. If unsure, I advise checking with a healthcare provider.
Are these sandwiches okay for vegans?
I confirm they can be vegan. I swap dairy cream cheese and mayo for plant-based versions and choose vegan fillings like mashed chickpeas or cucumber with herbed vegan spread.
Can I prepare them before serving?
Yes. I make them ahead and store them in an airtight container in the fridge. For best texture, I assemble the sandwiches the same day and keep any watery fillings separate until serving.
What pairs well with these sandwiches?
I serve them with light sides: a simple green salad, potato chips, pickles, or a fruit platter. I also offer raw vegetables and a pot of tea for a classic touch.
Wrapping Up
I made these tips so you can make tea sandwiches that look and taste great with little fuss. Keep bread fresh, use tight wraps, and chill sandwiches before serving to keep fillings firm. Prepare parts ahead—slice cucumbers, mix spreads, or make fillings—and assemble up to a day early to save time.
If you plan to freeze, skip cucumber and egg fillings; they don’t thaw well. Freeze fillings separately when possible and thaw in the fridge. For best texture, eat within 24–48 hours.
Share the sandwiches with friends and family or bring them to small gatherings. I recommend simple, complementary flavors and neat assembly for the best presentation. Try small tweaks to match your taste and keep notes so you can replicate your favorites.
FAQs
Q1: What makes Ina Garten–style tea sandwiches work well for a small gathering?
I like these sandwiches because they use simple, fresh ingredients and small portions. The mild flavors and neat, crustless presentation make them easy to eat and pair well with tea or light drinks. They also let me prepare several varieties ahead of time, so I can serve a varied platter without last-minute work.
Q2: Are these tea sandwiches safe for guests with food allergies?
I always check ingredients and label any common allergens like dairy, wheat, eggs, or shellfish. For safety, I offer at least one option that is dairy-free or gluten-free when needed. If someone has severe allergies, I avoid cross-contact by using separate utensils and a clean prep area.
Q3: How long can I store finished tea sandwiches before serving?
I keep filled sandwiches refrigerated and serve them within 2–3 hours for best texture and taste. If you need to store them longer, wrap them tightly and refrigerate up to 24 hours, but be aware cucumbers and watery fillings can make bread soggy over time.
Q4: What simple steps do I use to prevent soggy bread?
I spread a thin layer of butter or cream cheese on the bread first; this creates a moisture barrier. I also pat wet fillings like sliced cucumber dry and slice ingredients thinly to reduce excess water. Assemble closer to serving time when possible.
Q5: How do these tea sandwiches compare to other finger-food options?
Compared to heavy appetizers, I find tea sandwiches are lighter and more refreshing, ideal for afternoon events. They are easier to eat without utensils and look elegant on a tray. For heartier needs, I’d add small savory bites alongside them for more variety.
Q6: What maintenance or prep tips keep them fresh during an event?
I stack sandwiches in single layers on a platter and cover them with a damp cloth or plastic wrap until serving to prevent drying. Keep the platter chilled on ice underneath or use smaller batches and replenish the tray so everything stays cool and attractive.
Q7: Can I adapt these sandwiches for dietary restrictions like gluten-free or vegan?
Yes. I substitute gluten-free bread, use plant-based spreads and fillings, and choose vegetables, herbs, and smoked tofu or legume-based salads as fillings. Taste and texture change slightly, so I test combinations ahead to ensure they remain appealing.
Conclusion
I recommend Barefoot Contessa tea sandwiches when you want simple, elegant finger food that guests will enjoy. I find the recipes use fresh ingredients and straightforward techniques that deliver consistent results.
- Effectiveness: These sandwiches offer balanced flavors and attractive presentation with minimal effort.
- Safety and eco-friendliness: I suggest using fresh, properly stored ingredients and reusable serving trays to reduce waste.
- Suitability: They work well for small gatherings, bridal showers, and afternoon tea because they are easy to prepare ahead and serve.
Choose trusted recipes and quality ingredients for best results. I encourage you to try them, adapt fillings to your taste, and make them a regular choice for light, refined entertaining.