
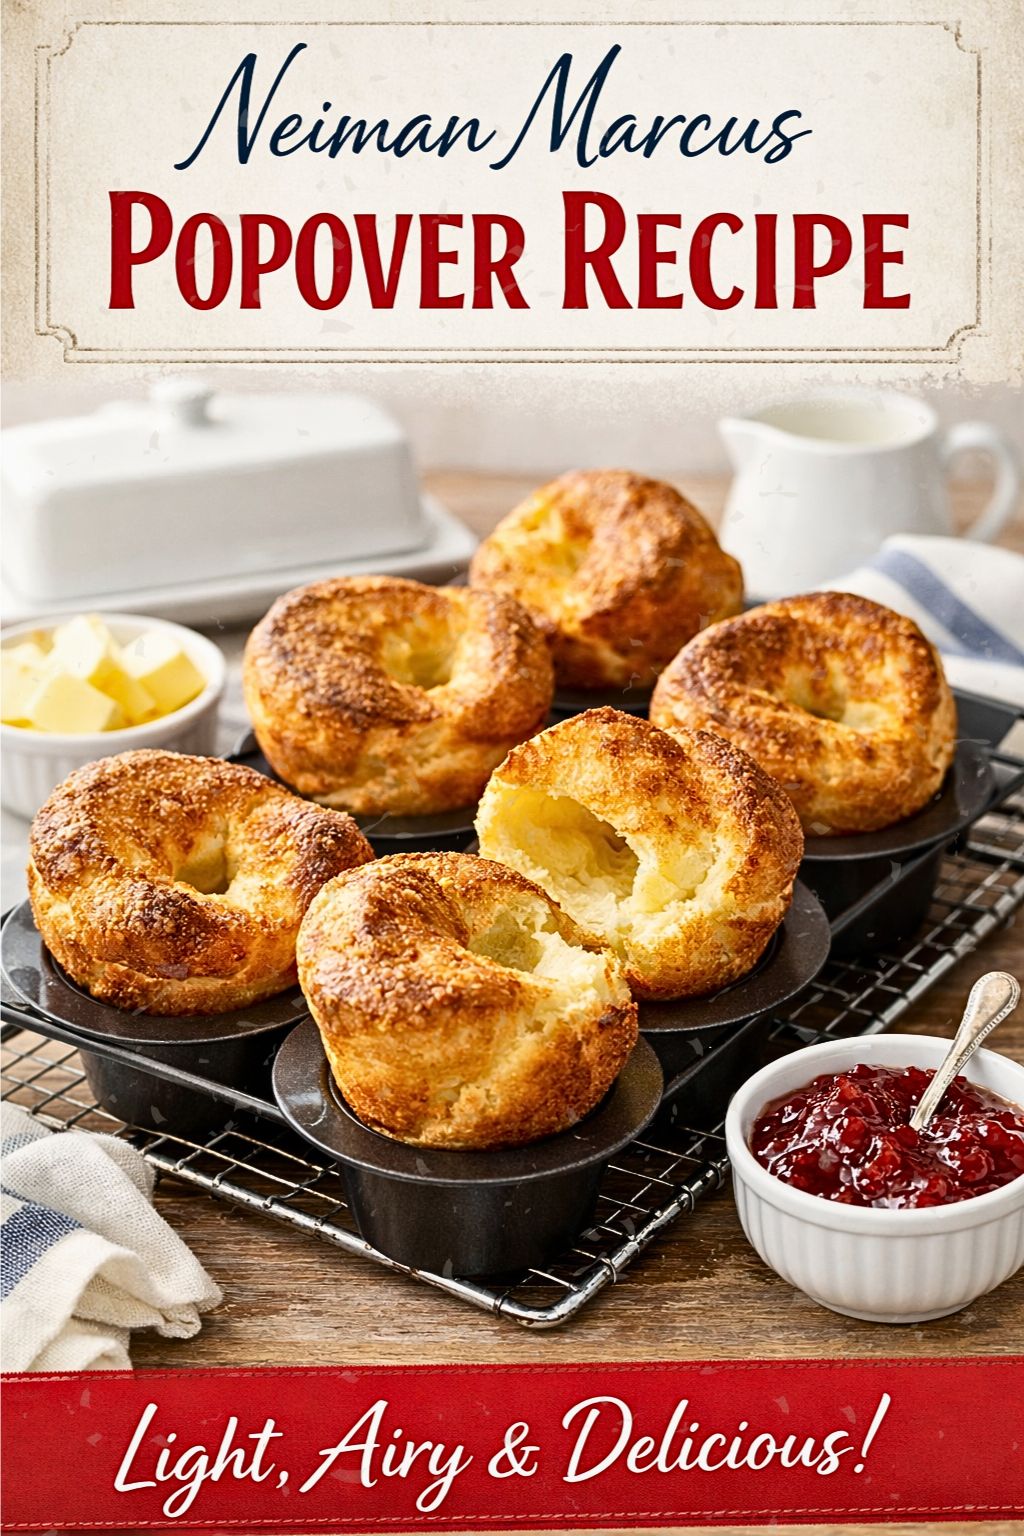
Neiman Marcus Popover Recipe
I love how popovers lift a simple meal into something special. On a busy morning I can bake a batch that fills the kitchen with a warm, buttery smell, and they pair well with fruit, quiche, cheese, or a spoonful of jam or honey. Their light, airy texture also works nicely beside a bright tomato basil soup or chilled gazpacho, giving a pleasant contrast on the plate.
My goal is to show why these Neiman Marcus–style popovers are worth the effort and to make the steps easy to follow. I’ll share what you need, the key techniques, useful tips for success, and how to store or serve leftovers so you can recreate that same fluffy result every time.
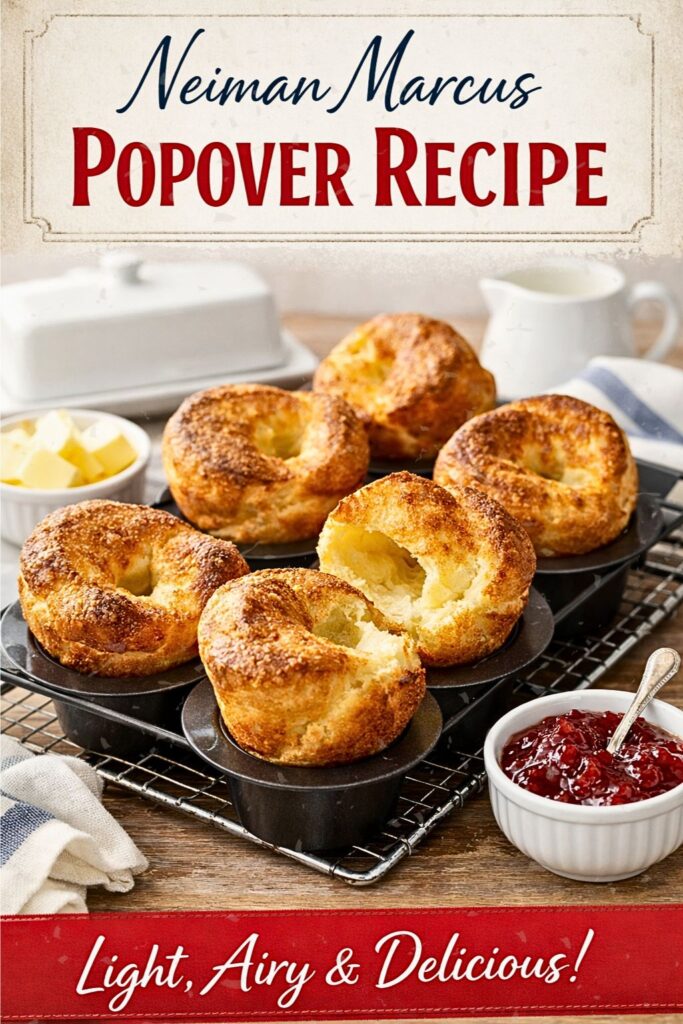
Key Takeaways
- Popovers add lift and contrast to a wide range of breakfast or brunch dishes.
- The recipe relies on simple ingredients and precise technique for tall, airy results.
- Clear tips on preparation and storage make repeated success more likely.
What I Call the Neiman Marcus Popover
I describe the Neiman Marcus popover as a light, hollow roll made from a simple egg-and-flour batter. I note that when the batter heats, steam lifts the dough, forming a crisp exterior and an airy inside. I point out that the Neiman Marcus style uses careful ingredient choices and baking steps to make the texture and rise more consistent. I emphasize its reputation for being a refined, buttery-accented bread served warm, often paired with flavored butter or spreads.
Why This Recipe Works?
I rely on a simple batter of eggs, flour, and milk that turns airy when baked. High oven heat forces rapid steam production, which lifts the batter and forms the hollow, puffy shell I want.
Timing and temperature matter more than fancy tricks. I preheat the pan and keep the oven hot so the popovers rise quickly.
The result is a light interior with a crisp exterior that pairs well with sweet or savory spreads. My early attempts were dense, and they taught me to follow steps exactly for best results.
What I Need to Make These Popovers
- Eggs: 6 large, room temperature
- Vanilla: 1 tsp
- Butter: 2 tbsp, melted
- Milk: 3½ cups, lukewarm
- Flour: 4 cups all-purpose
- Salt: 1½ tsp sea salt
- Leavening: 1 tsp baking soda
How to Make Neiman Marcus Popover
Step 1: Heat the Oven
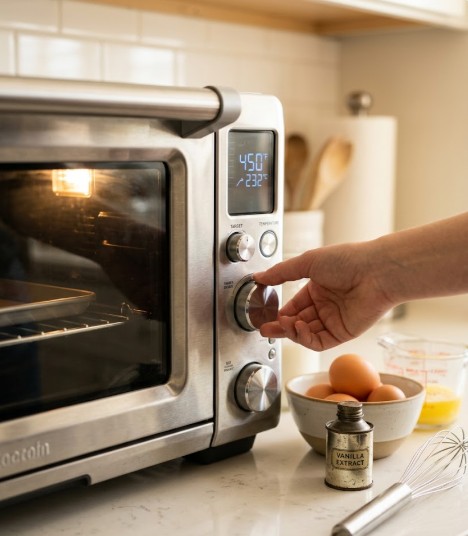
I preheat the oven to 450°F (232°C). A very hot oven helps the batter puff quickly. While it warms, I set out ingredients and bring eggs to room temperature.
Step 2: Prepare and Oil the Pan
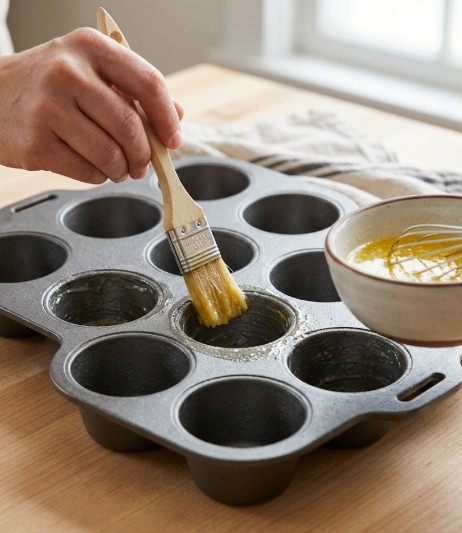
I coat each cup of a 12-cup popover or muffin pan with a thin layer of melted butter or nonstick spray. Greasing well helps the popovers release and develop an even, crisp crust.
Step 3: Combine the Batter
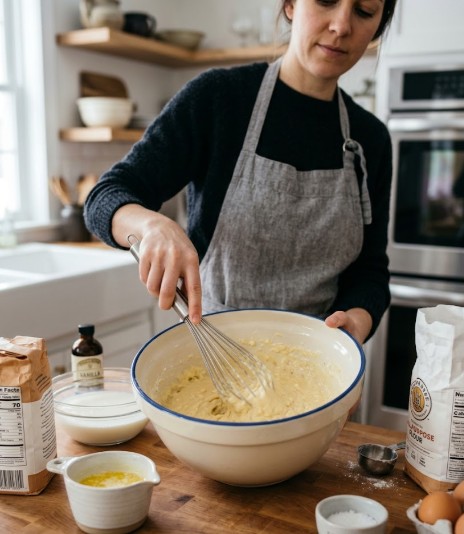
I whisk eggs and vanilla until smooth, then stir in melted butter, lukewarm milk, and a pinch of sea salt. I add flour and a small amount of baking soda gradually, mixing just until the batter looks mostly smooth. I avoid overmixing; a few small lumps are fine.
Step 4: Portion the Batter
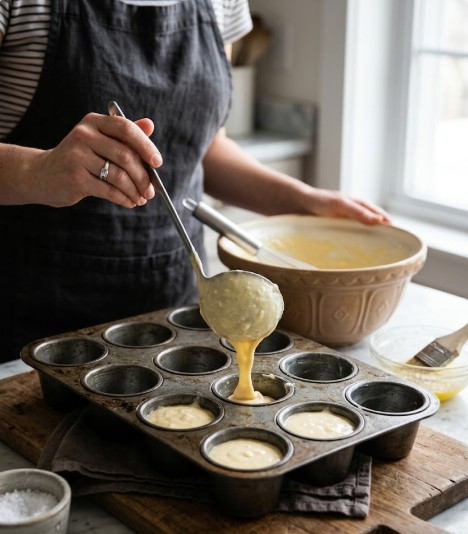
I fill each greased cup about two-thirds full. This gives the batter room to expand without spilling. I use a ladle or measuring cup to keep portions consistent for even rising.
Step 5: Bake to Puff and Set
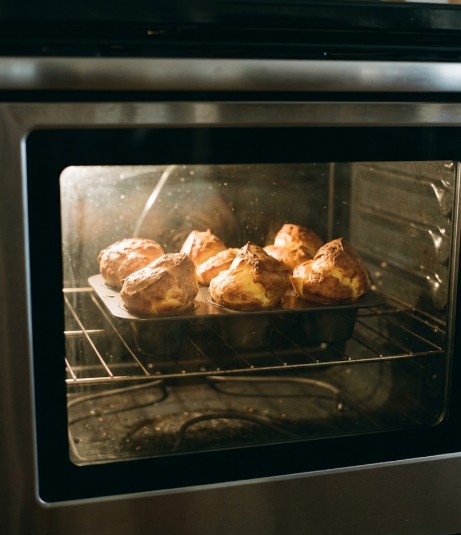
I slide the pan into the hot oven and bake 20 minutes without opening the door. Then I lower the temperature to 350°F (177°C) and bake 10–15 more minutes until the popovers are deep golden and crisp. I do not open the oven early to prevent them from collapsing.
Step 6: Serve While Hot
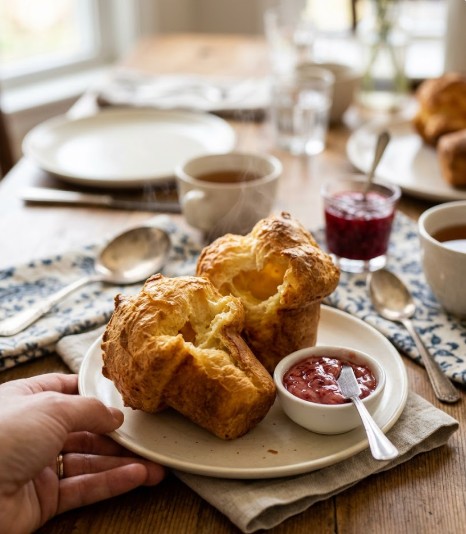
I remove the popovers and serve them immediately while still warm. I suggest offering butter, jam, or strawberry butter on the side. Warm popovers have their best texture right out of the oven.
Tips for Success
I bring the batter to life by using eggs at room temperature; they blend more smoothly and help the popovers puff. I never open the oven during the first 20 minutes so the structure sets and they rise tall. When I can, I use a popover pan instead of a muffin tin because it gives better shape and even heat. At high altitude, I cut back on baking powder a little and raise the oven temp to avoid collapse. For variety, I often stir in grated cheese, chopped herbs, or a pinch of spice for a savory twist.
How I Keep Leftover Popovers Fresh
I cool popovers completely, then place them in a zip-top bag or airtight container at room temperature for up to 2 days.
For longer storage, I freeze them in a single layer inside a sealed bag for up to 3 months.
To revive crispness, I reheat in a 350°F (177°C) oven for 5–10 minutes until warm and crunchy.
How I Suggest Serving Neiman Marcus Popovers
I like to use popovers in both savory and sweet ways. For a savory option, I mix shredded cheddar and chopped chives into the batter before baking so each popover has cheesy flavor and a mild onion note.
For a sweeter take, I spread whipped cream cheese on warm popovers and drizzle honey over them. That makes a simple, brunch-friendly treat.
I also serve popovers with soup. They work well with creamy tomato or chicken soup for dipping.
When I want a lighter meal, I pair popovers with a garden salad dressed in lemon vinaigrette. The contrast of textures and flavors balances the plate.
What Alternatives Can You Use for the Ingredients If Not Available?
Ingredient Swaps I Rely On
- Eggs: I swap one egg with 1 tablespoon of ground flaxseed or chia seeds mixed with 3 tablespoons of water. Let the mix gel for 5–10 minutes before using.
- Milk: I use unsweetened almond milk or oat milk in a 1:1 ratio when dairy milk is unavailable.
- Flour: For gluten-free popovers, I choose a gluten-free all-purpose blend that contains xanthan gum or a similar binder.
- Vanilla: I replace vanilla extract with 1/2 teaspoon almond extract or 1 teaspoon coconut extract when I want a different but pleasant aroma.
- Butter: I use melted oil (canola or light olive oil) in a 1:1 swap if butter is missing, though butter adds better flavor.
Tools and Pan Alternatives I Recommend
- Popover pan: I prefer a popover pan for the classic tall shape. If I don’t have one, I use a standard muffin tin but expect shorter popovers.
- Greasing: I brush cups with melted butter or use a high-heat nonstick spray to prevent sticking.
- Mixing: I use a blender for a smooth batter. A large bowl and hand mixer work fine; I whisk gently to avoid overdeveloping gluten.
- Heating: I preheat the oven with the pan inside for a hotter surface if my oven allows it.
Technique Changes and Shortcuts I Use
- Egg temperature: I bring eggs to room temperature before mixing. If I forget, I put cold eggs in a bowl of warm water for 5–10 minutes.
- Batter smoothness: I briefly blend batter to remove big lumps but stop as soon as mixed to avoid toughness.
- Filling cups: I fill molds about two-thirds full. If I use a muffin tin, I fill slightly less to prevent overflow.
- Oven handling: I never open the oven for the first 20 minutes. If my oven runs cool, I raise the initial temperature by 10–15°F and watch for faster browning.
- High altitude: I lower leavening a bit and increase oven temperature by 10°F when I bake at altitude.
Nutrition and Dietary Notes I Consider
- Lower fat: I replace whole milk with low-fat milk or a lower-fat plant milk to cut calories, but texture can be slightly less rich.
- Dairy-free: I use plant-based milk and oil instead of butter to make a dairy-free version.
- Gluten-free: I use a tested gluten-free flour blend with xanthan gum and avoid overmixing to keep popovers light.
- Egg-free: Using flax or chia removes eggs and cuts cholesterol; the texture becomes slightly denser but still puffed.
- Sodium: I reduce salt a little for lower-sodium needs; flavor adjusts with butter or savory add-ins.
Extra Practical Tips I Keep in Mind
- Measure ingredients by volume or weight for consistency; I weigh flour when possible.
- If I use a muffin tin, I rotate expectation: tops will be crisp, but height won’t match a popover pan.
- I let flax or chia gel fully set before adding to other wet ingredients for better binding.
- For added flavor, I mix grated cheese or chopped herbs into the batter after switching to a savory profile.
- I test one cup first if trying a new substitute so I can tweak temperature or bake time without wasting the whole batch.
Frequently Asked Questions
I get a lot of the same questions when I bake popovers. Below I answer the most common ones with short, practical tips.
- Why did my popovers fall?
Opening the oven too soon or a sudden drop in temperature often causes collapse. Make sure the oven stays hot and avoid lifting the door until they set. - Can I make the batter ahead of time?
Yes. I keep batter in the fridge for up to 24 hours. Bring it to room temperature and whisk briefly before baking. - Can I bake them earlier and reheat later?
You can. I reheat popovers in a hot oven for a few minutes to restore crispness. I avoid the microwave because it makes them chewy. - How long will they stay good?
I eat popovers fresh, but they keep at room temperature for 1–2 days. For longer storage, freeze them for up to 3 months. - Is a muffin tin okay to use?
A muffin tin works, but I prefer a popover pan. The pan helps them rise tall and hollow; muffin tins often give a denser result. - How should I use cold popovers?
I warm them in the oven, then serve with butter, jam, or use them as a base for a savory bread pudding. - How do I ensure enough steam while baking?
I preheat the oven fully and place the pan in the hot oven right away. Keeping the oven door closed helps trap steam and aids rise.
Bold tip: avoid interrupting the bake—consistent heat makes the biggest difference.
Final Thoughts
I kept the recipe simple and focused on technique so I can get reliable, tall popovers every time. I use a few plain ingredients, steady batter temperature, and a very hot oven to create that light, hollow interior and crisp exterior.
I recommend practicing once or twice to find your timing and pan choice. Small adjustments—resting the batter, using room-temperature eggs, or tweaking oven racks—make a big difference.
Tips I follow:
- Preheat the pan until it’s scorching hot.
- Fill cups only partway to avoid spillover.
- Serve warm with a flavored butter or jam.
FAQs
- What makes these Neiman Marcus-style popovers rise so tall?
I rely on very hot oven heat and a thin, loose batter. High initial heat creates steam inside the batter, which puffs the walls. I also preheat the popover pan so the batter starts cooking the moment it hits the metal. - Are these popovers safe to eat if slightly underdone in the center?
I avoid underdone centers because raw egg and flour can be unsafe. If the center is soft, I return the popovers to the oven at 375°F for a few minutes. A properly cooked popover should be set inside and lightly golden. - How long will homemade popovers stay fresh and how should I store them?
I serve popovers the day they’re made for best texture. If I must store them, I let them cool then keep them in an airtight container at room temperature for up to one day. Recrisp in a 350°F oven for 5–8 minutes before serving. - Can I make a gluten-free or dairy-free version that still tastes good?
I can adapt the recipe: use a cup-for-cup gluten-free flour blend with xanthan gum and replace milk with a non-dairy milk that has similar fat (like oat or soy). Results vary; rise may be slightly reduced, so expect a denser crumb. - How do these popovers compare to muffins or Yorkshire puddings?
I treat popovers as lighter and airier than muffins. They resemble Yorkshire puddings in technique and texture but often include a touch more milk and slightly different proportions for a taller, thinner wall. - What maintenance or care does a popover pan need to perform well?
I keep the pan clean and dry, avoid nonstick sprays that build up over time, and heat it in the oven before adding batter. If the pan loses nonstick performance, I season it lightly with a thin oil layer and bake it to restore some release. - Are there safety tips when using the popover pan and high oven heat?
I wear oven mitts and use long tongs to handle hot pans. I place the pan on a heatproof surface and allow it to cool before cleaning. Prevent steam burns by opening the oven slowly and keeping hands clear of rising steam.
Conclusion
I recommend making the Neiman Marcus popover recipe when you want a reliable, impressive bread that rises tall and stays light. I find the method—simple batter, warm milk, room-temperature eggs, and a very hot oven—gives consistent results when followed carefully.
Key benefits I notice:
- Effective: The recipe produces airy, well-browned popovers with a crisp exterior and soft interior.
- Safe: It uses common, safe ingredients and standard baking steps with no special hazards.
- Eco-friendly: The recipe needs few ingredients and little energy beyond a single high-heat bake, keeping waste and resource use low.
- Suitable: Popovers work for breakfasts, lunches, and as a side for dinners; they pair well with sweet or savory toppings.
I suggest using a reliable pan and fresh ingredients for best long-term results. With a steady technique, these popovers will become a dependable choice for special meals or everyday baking.